Step 1: Login to Avatar Voice Broadcast
1. Add given login details into login form and click Login Button. 
2. After log into Voice Broadcasting interface you will see multiple options for instance: Dashboard, Campaign, Contact, Reporting and Modules.

Step 2: Add Phonebook
1. Still you have no chosen campaign, either contact list to broadcast your voice message, so let’s get deep! Firstly, click on contact options, where you find four another options on your left side: Phonebooks, Contacts, Import contacts and Single Column File. 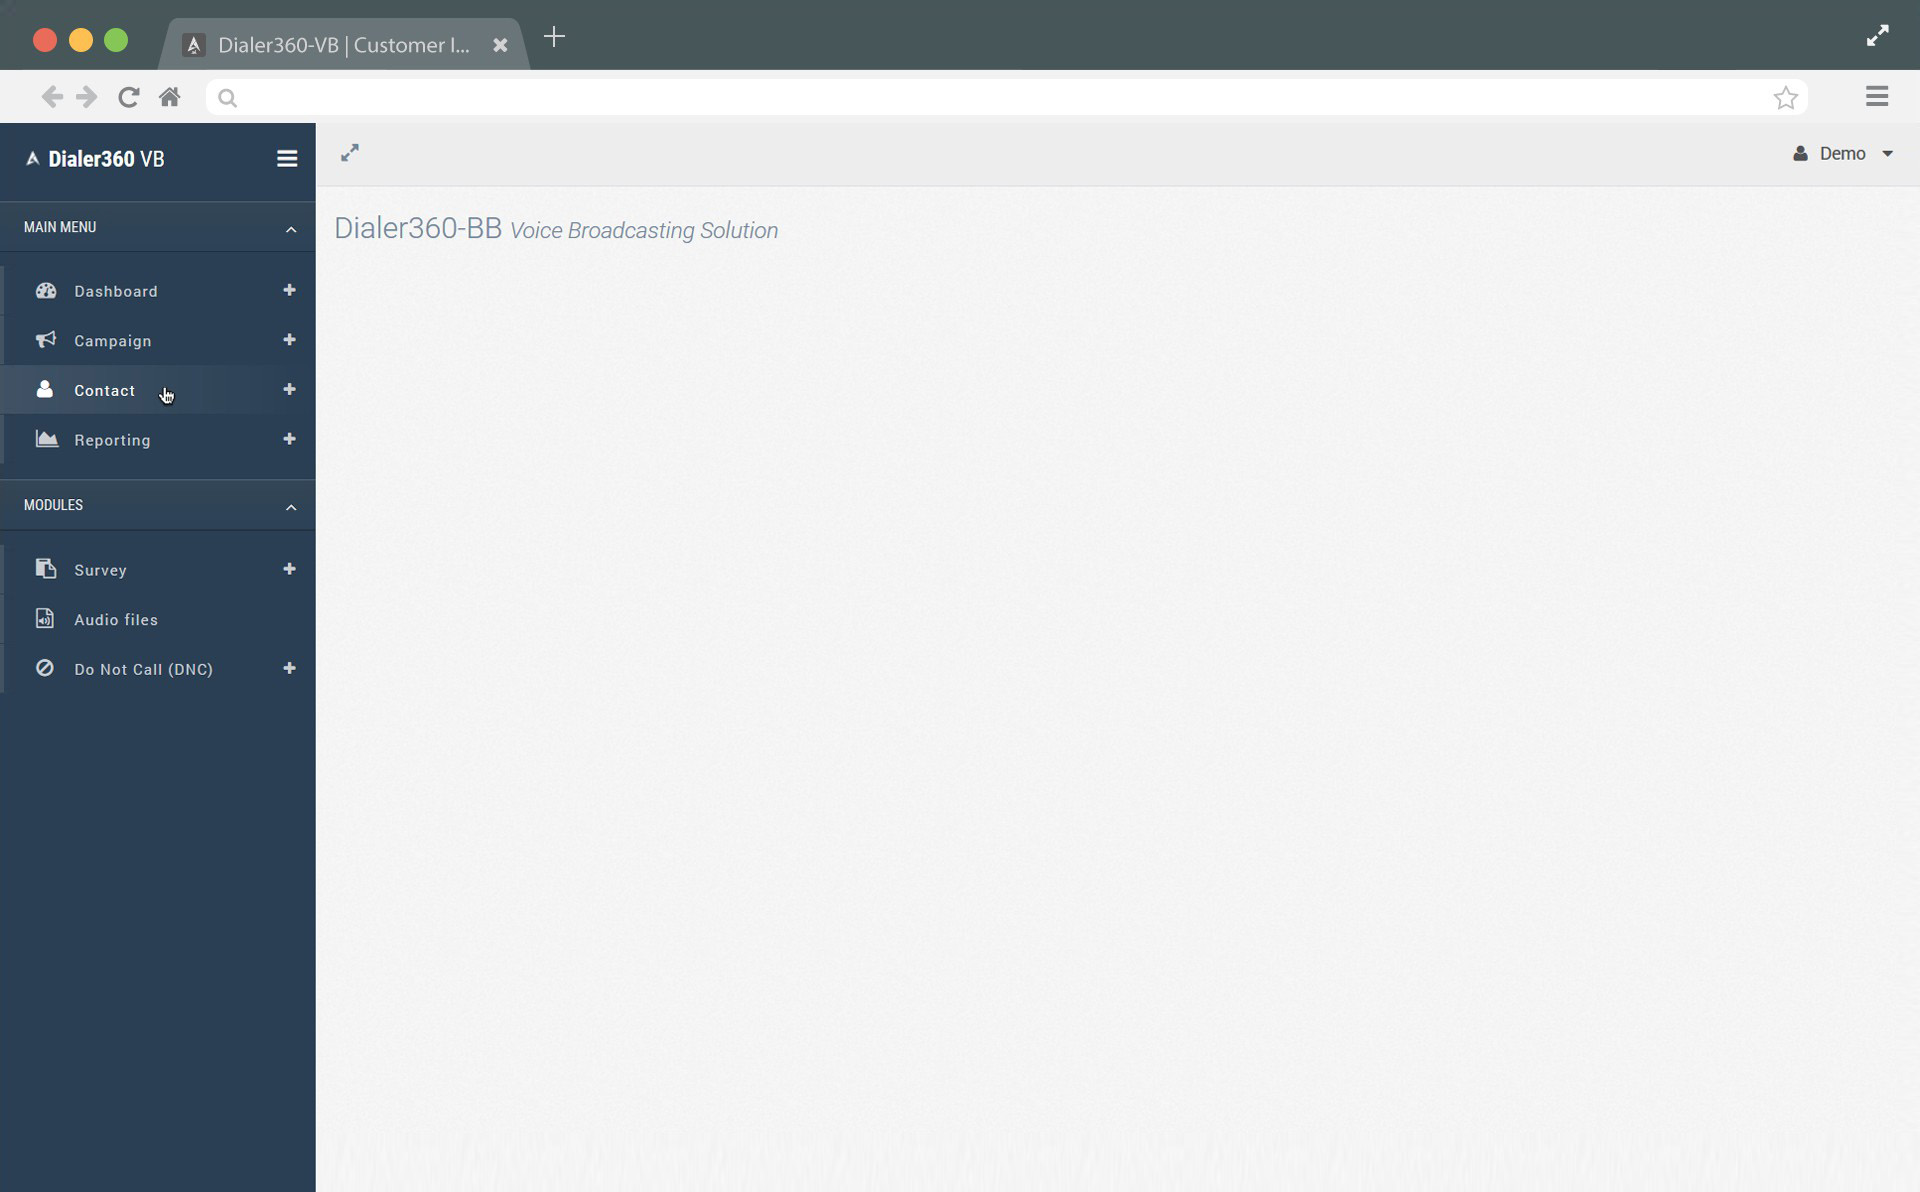
2. Click phonebooks link from left side menu. 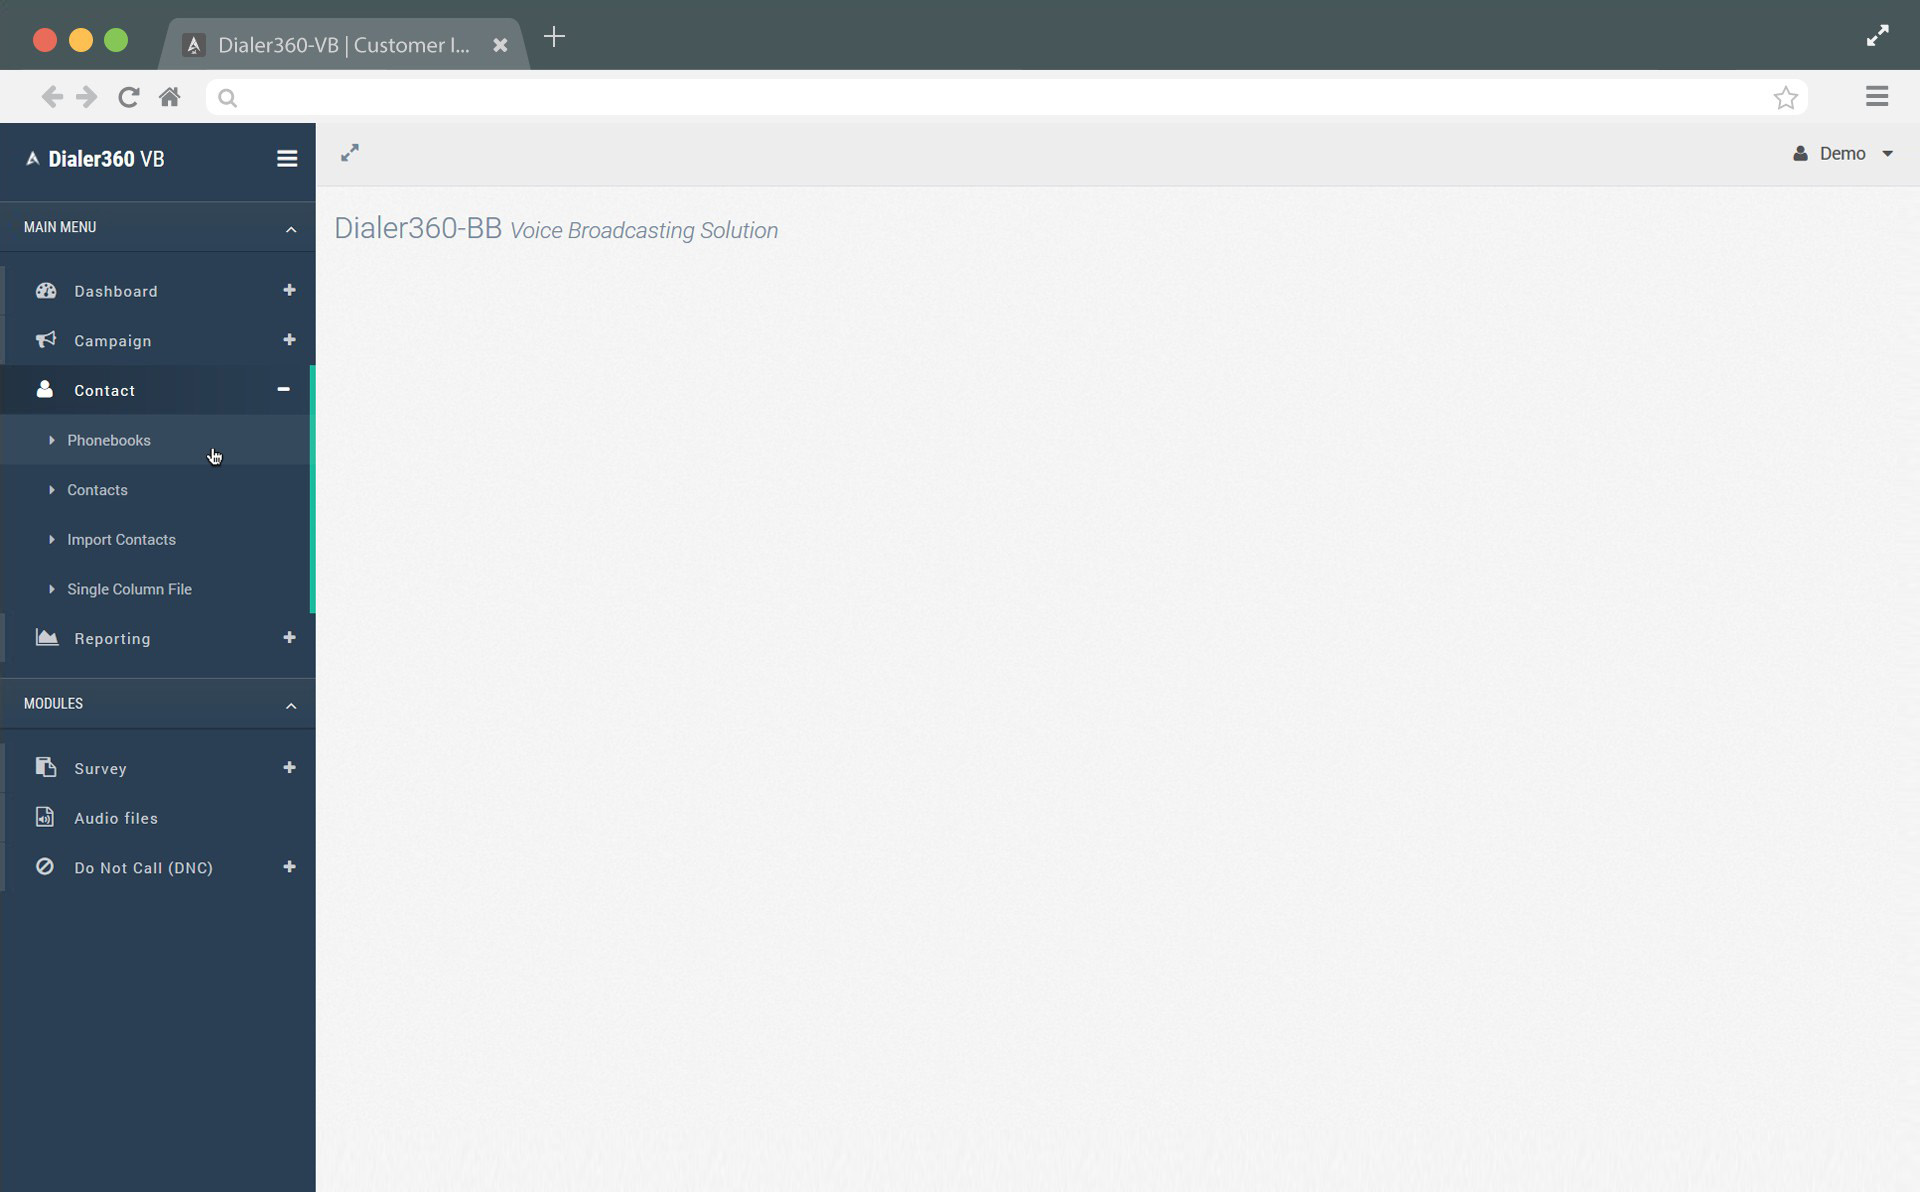
3. Phonebooks, where you can simply add your phonebooks by simple click on +Add button. 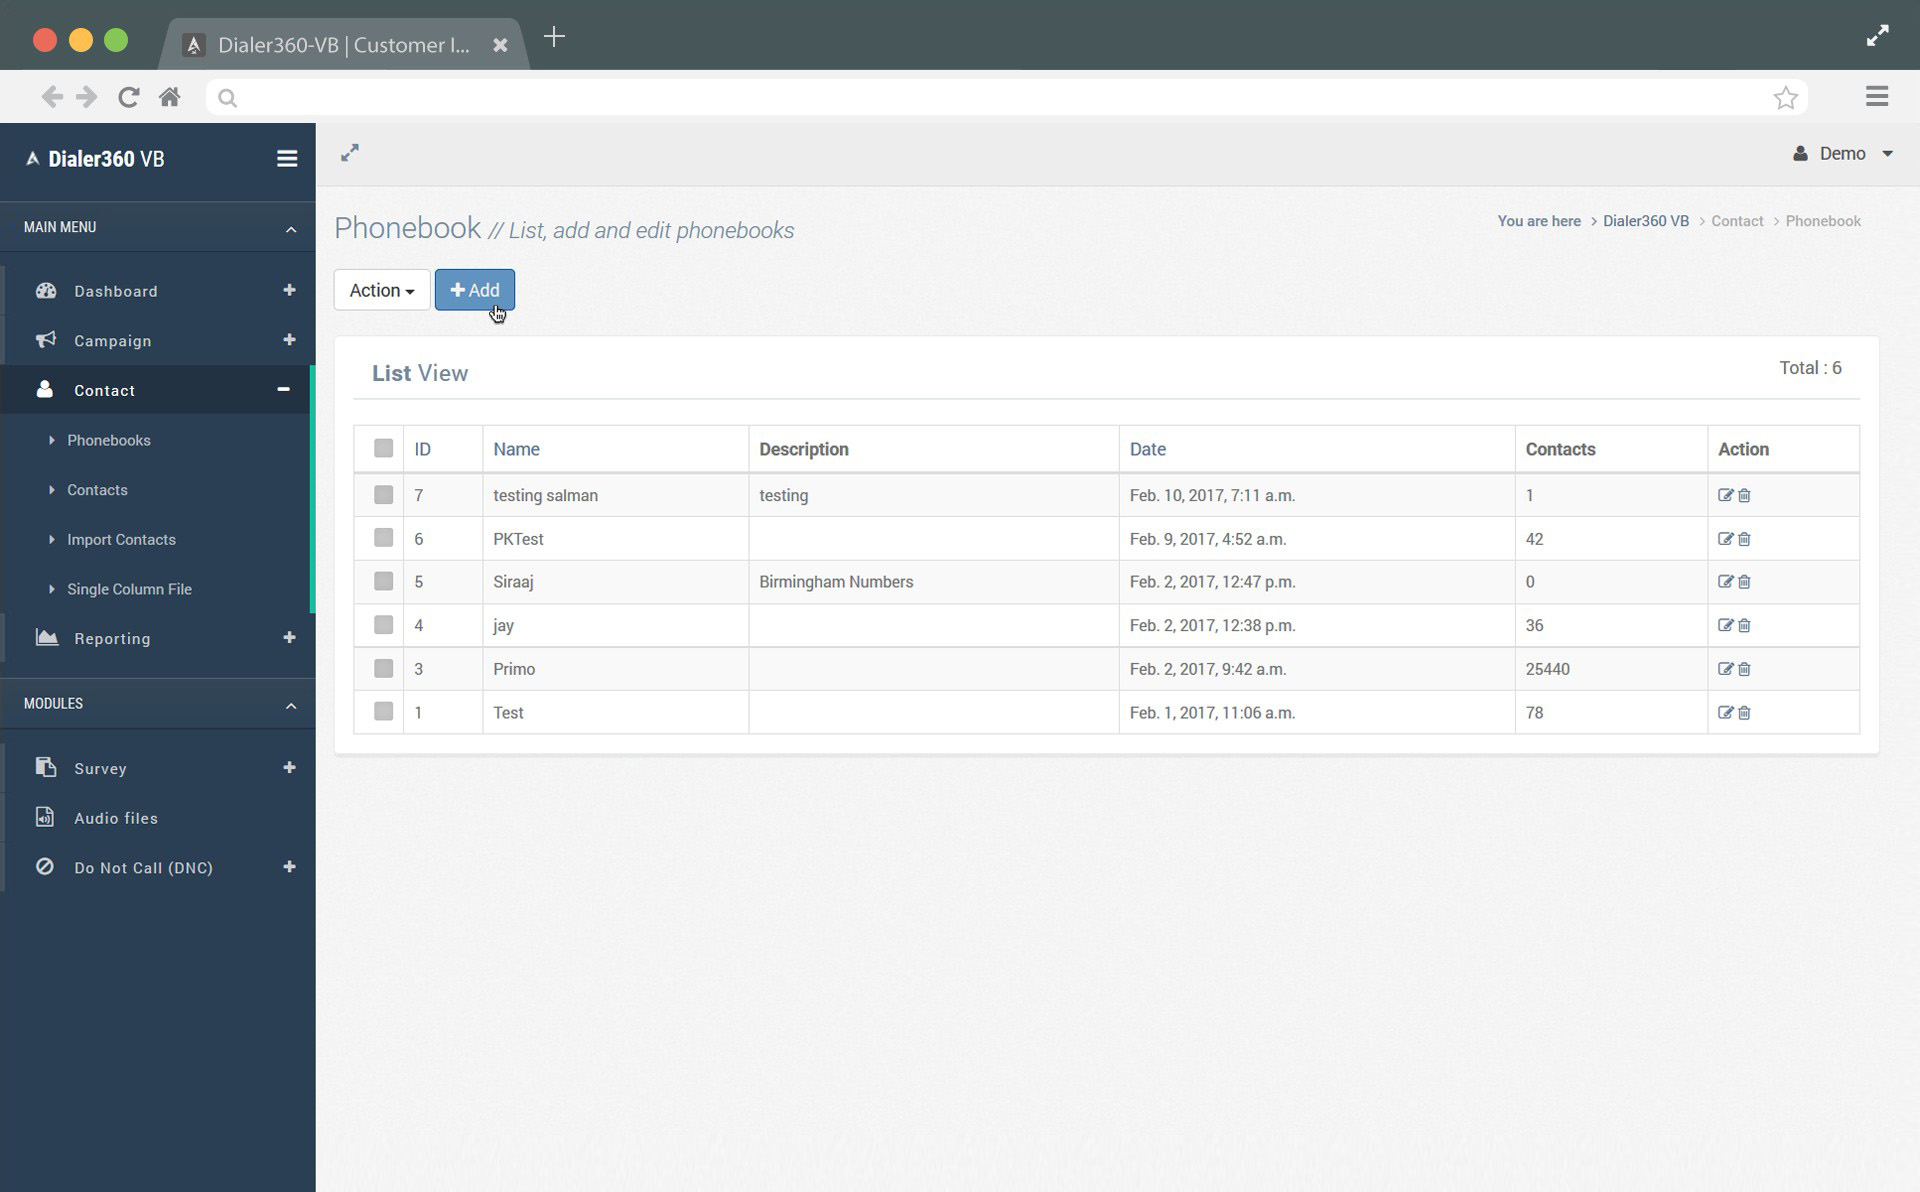
4. By click on +Add button, you will find Phonebook form. Add the name of phonebook, short description and click save button. 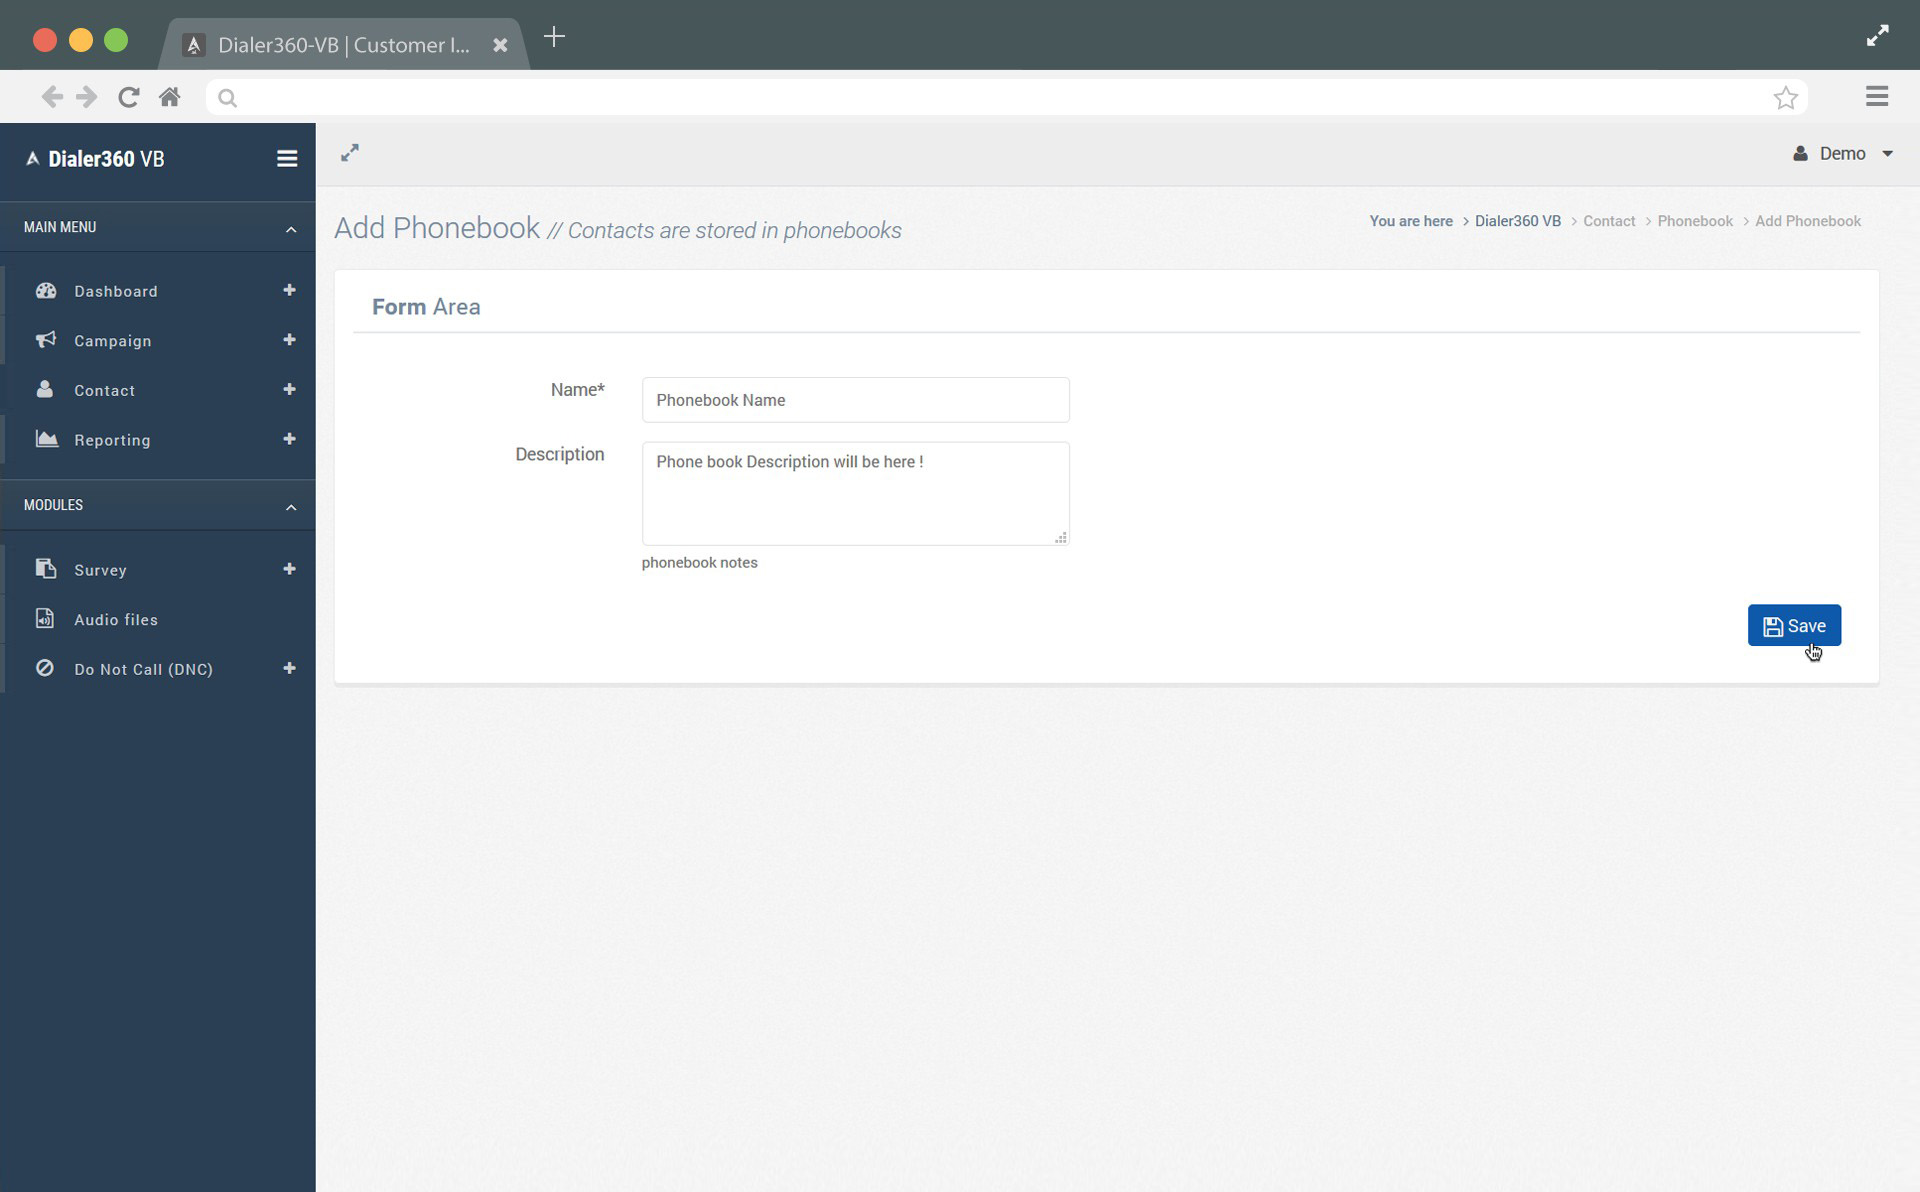
5. That’s it, phonebook is successfully added and you are now ready to add contact in it. 
Step 3-1: Import Contacts, where you import your contact by uploading .csv files from your system, which eliminate one by one add of contacts.
1. Click Import Contacts button from left side menu. 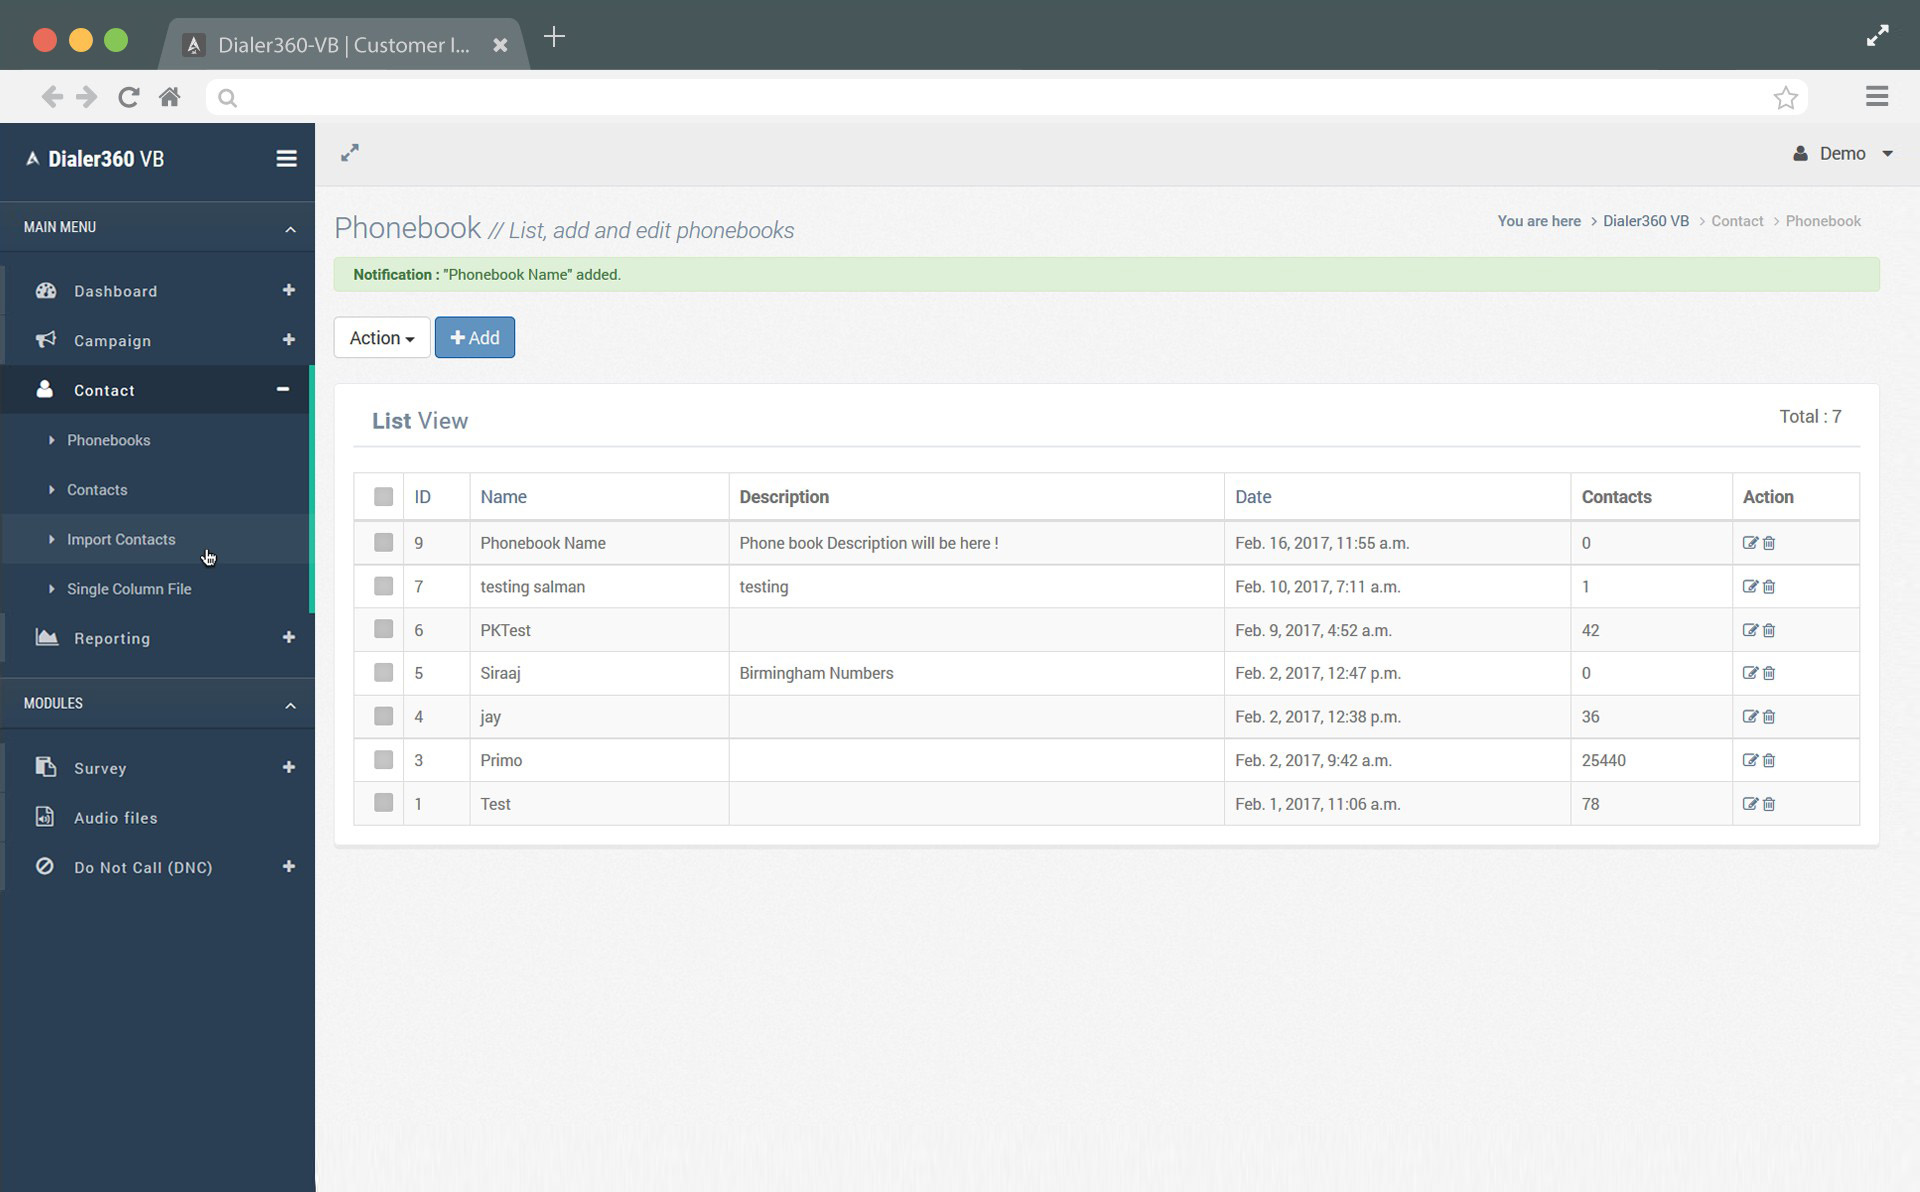
2. Now select phonebook (just created or already created one) from dropdown, choose .csv file and click Import button. 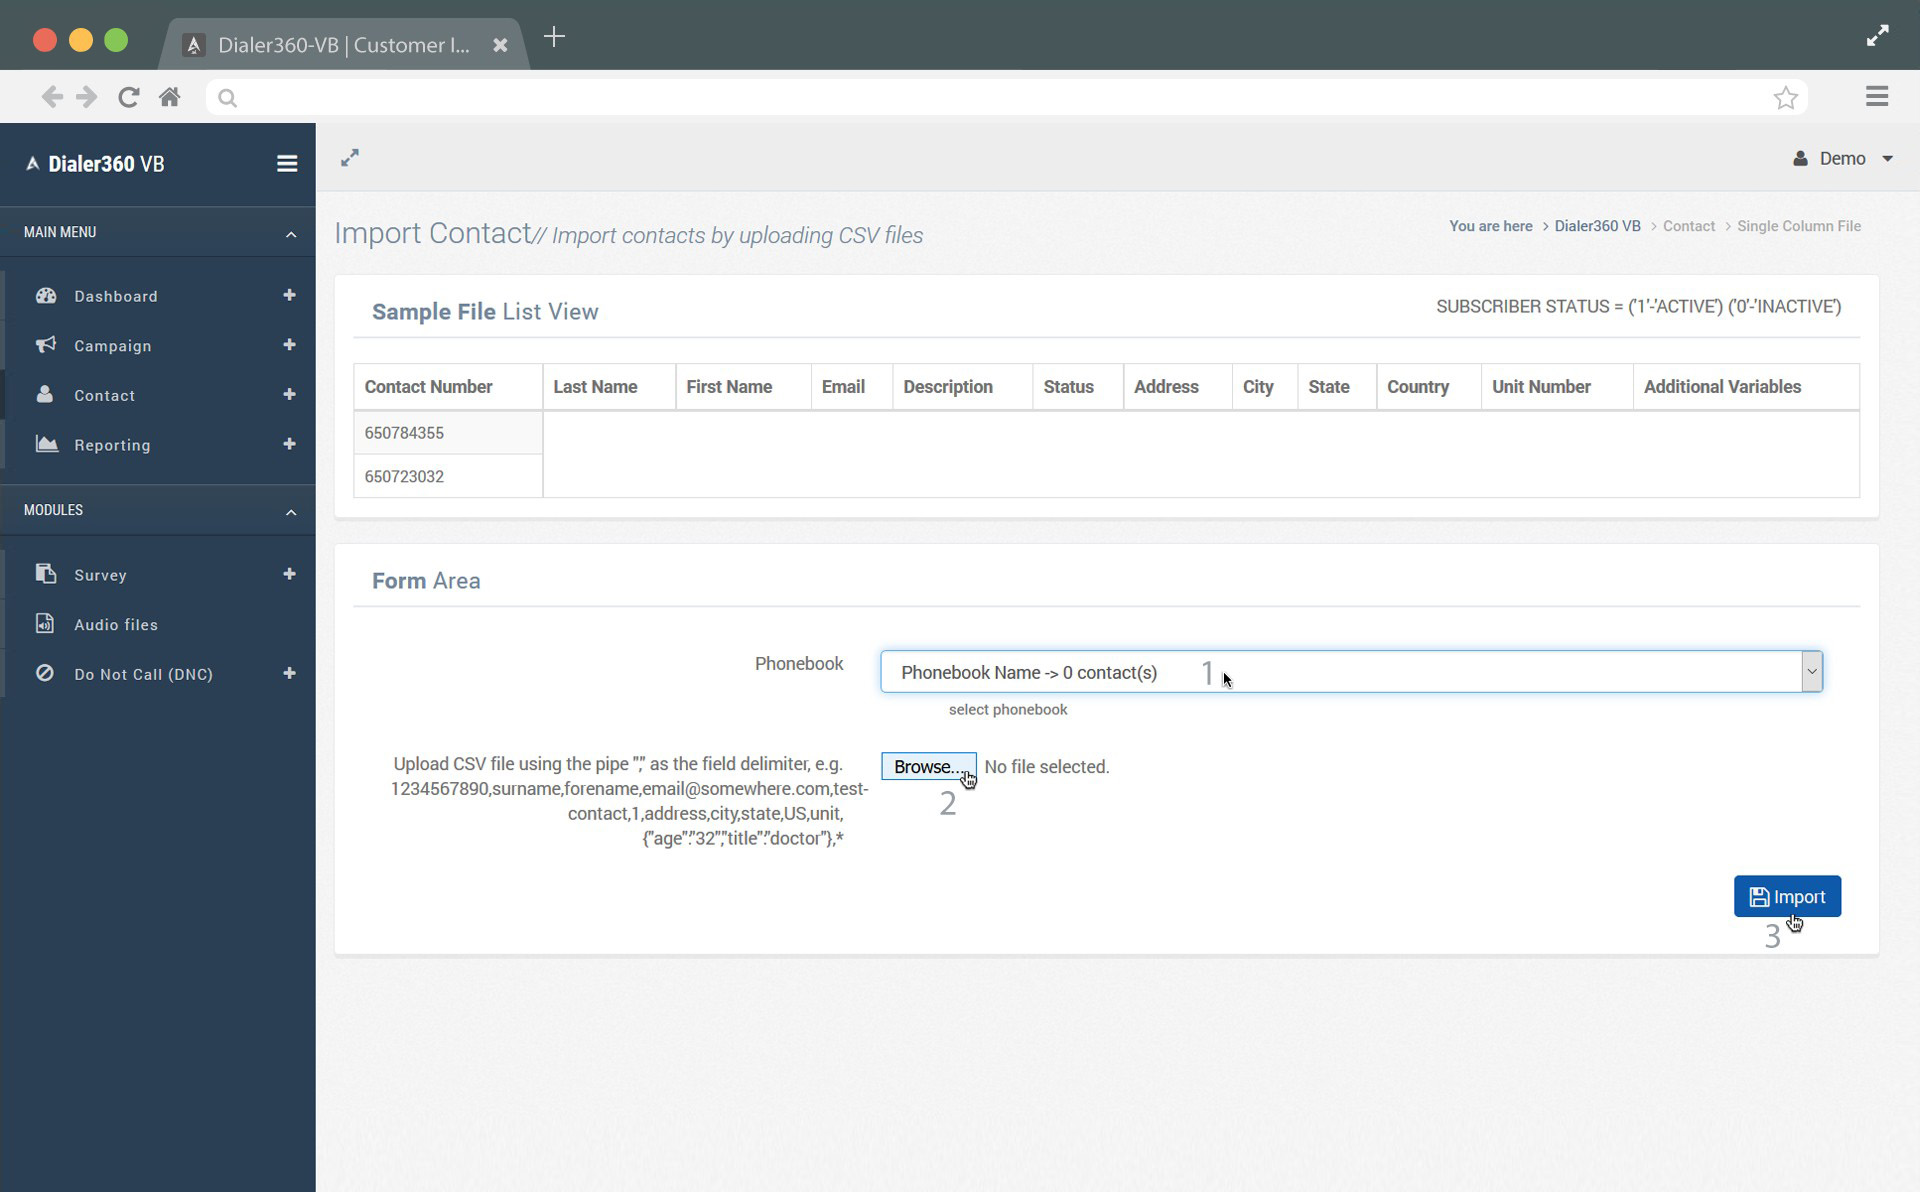
3. That’s it, all contacts from .csv are successfully imported! and you are ready to add audios for your campaign. 
Step 3-2: Import Single Column Contacts.
1. Click Single Column File button from left side menu.
2. Now select phonebook (just created or already created one) from dropdown, choose .csv file with single column (contacts only) and click Import button and contacts are successfully added. 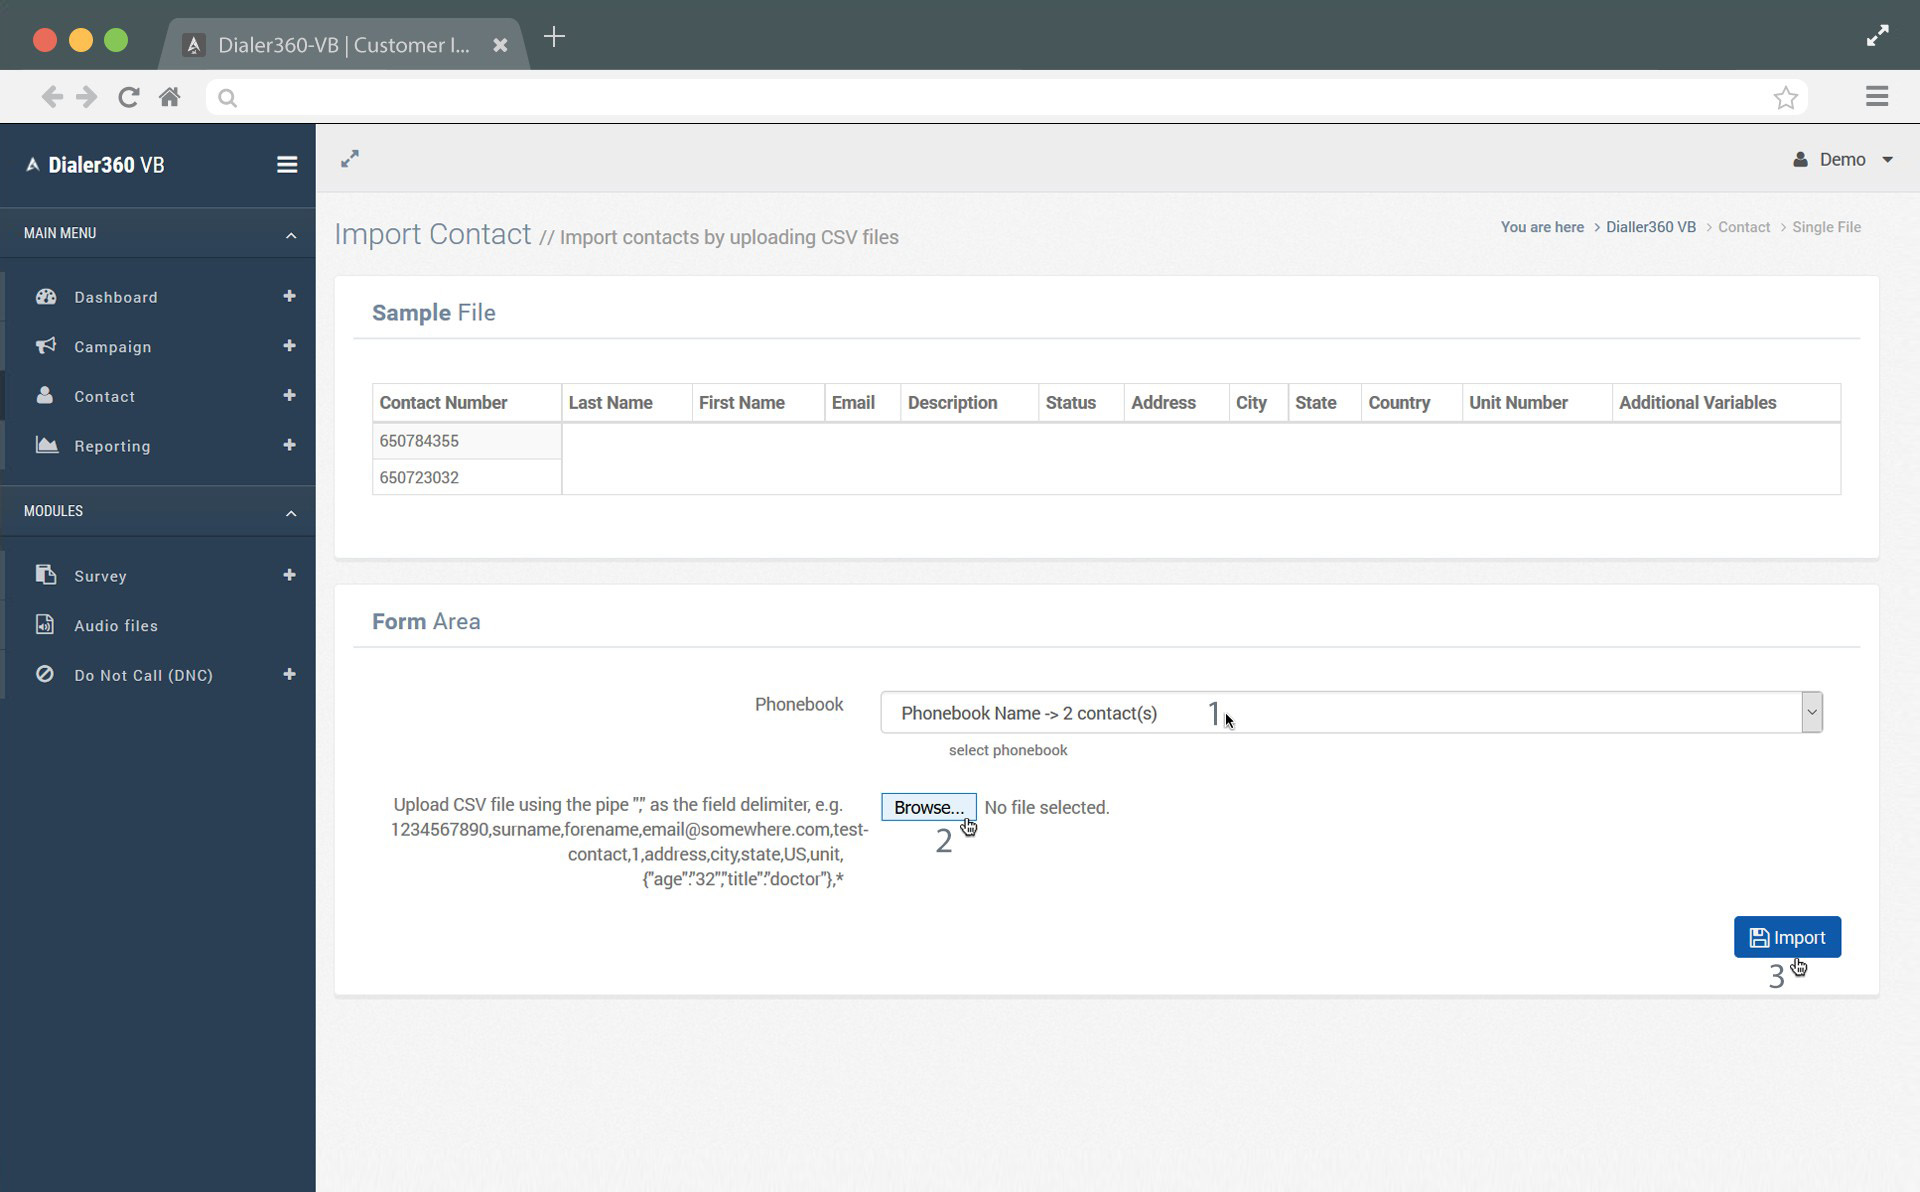
Step 4: Add Audios files (product voice message).
1. Click on “Module” option where you will find further options as: Survey, Audio files and Do Not Call (DNC list). Choose Audio files. 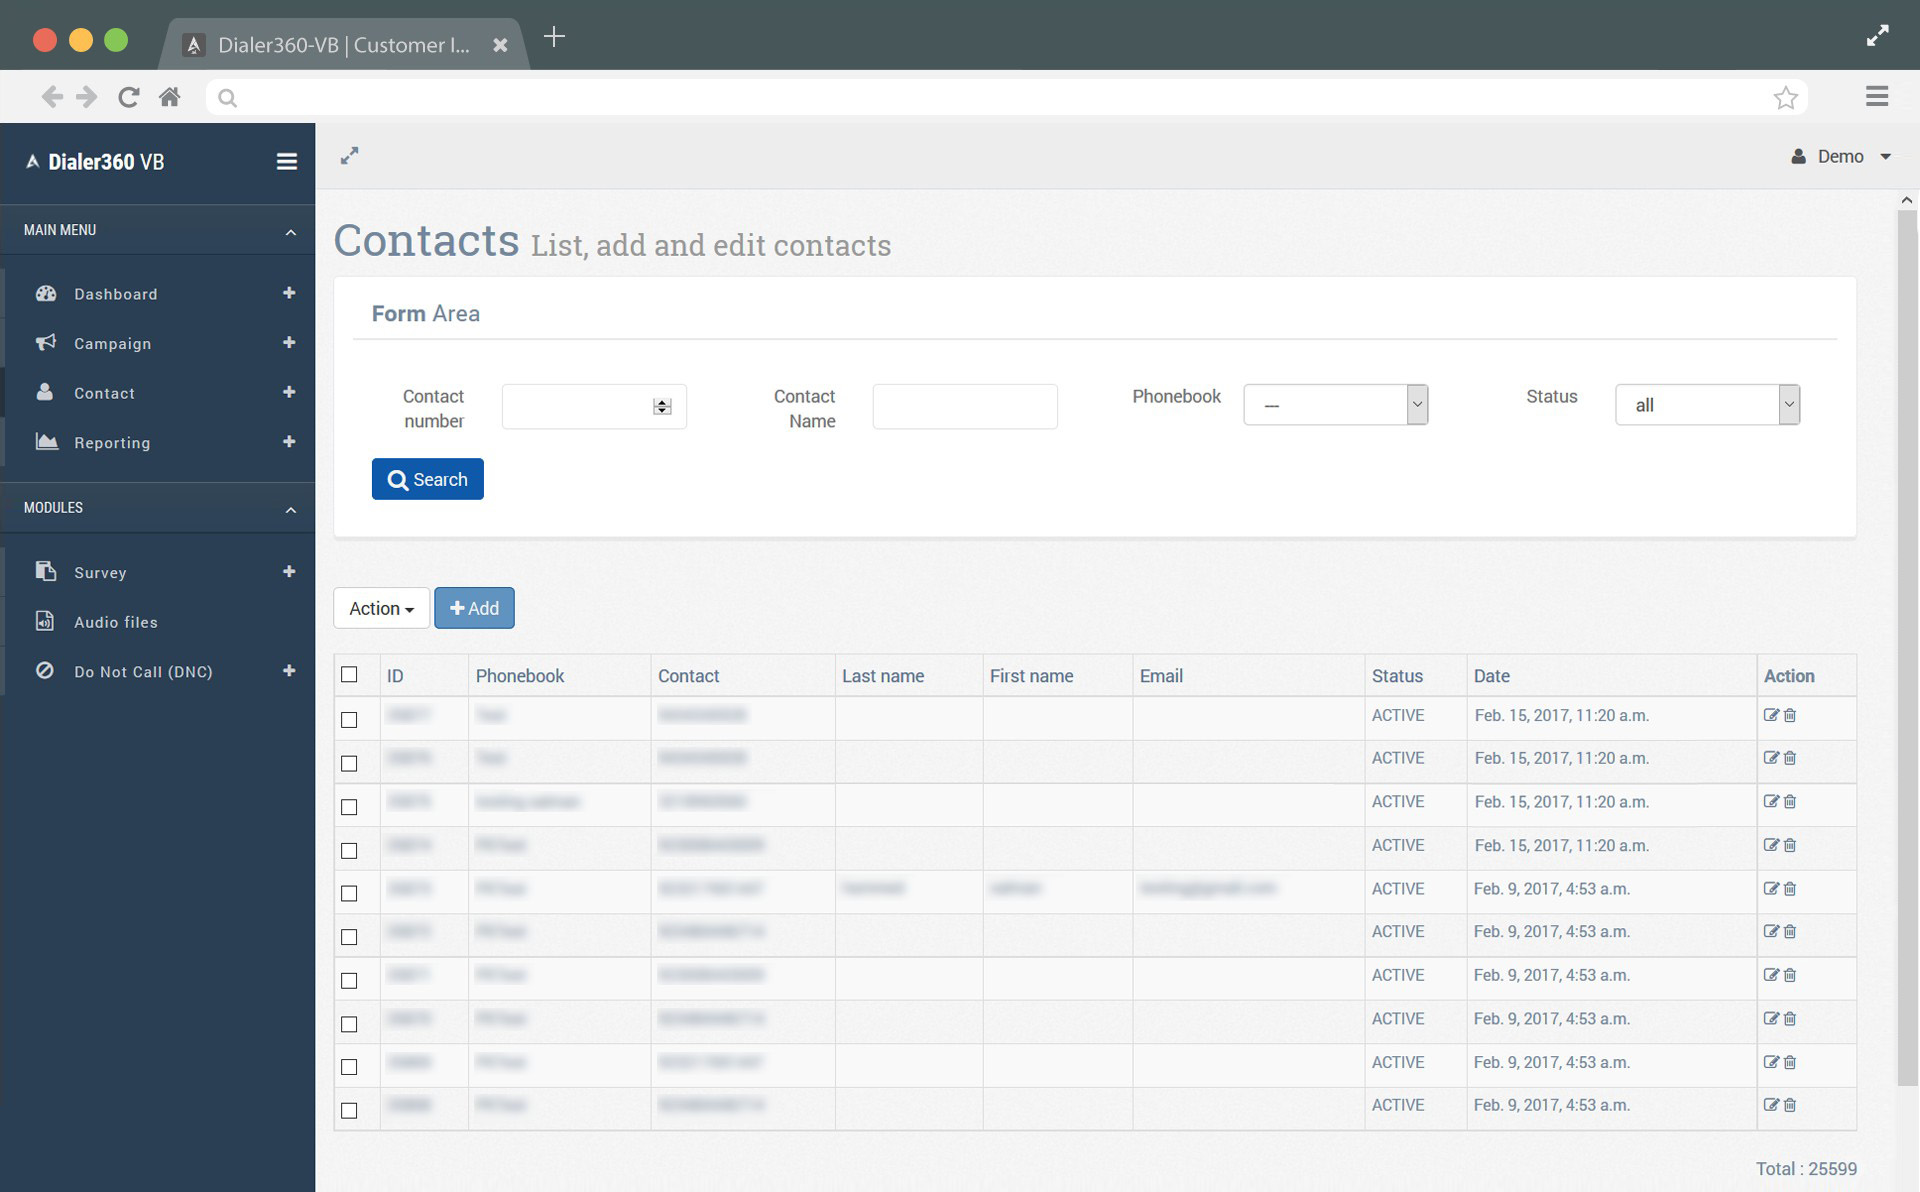
2. Click +Add button. 
3. Select audio name and choose allowed format file to broadcast your voice message and click save button. 
4. That’s it, Audio successfully uploaded, now you can edit, del or add more audios. 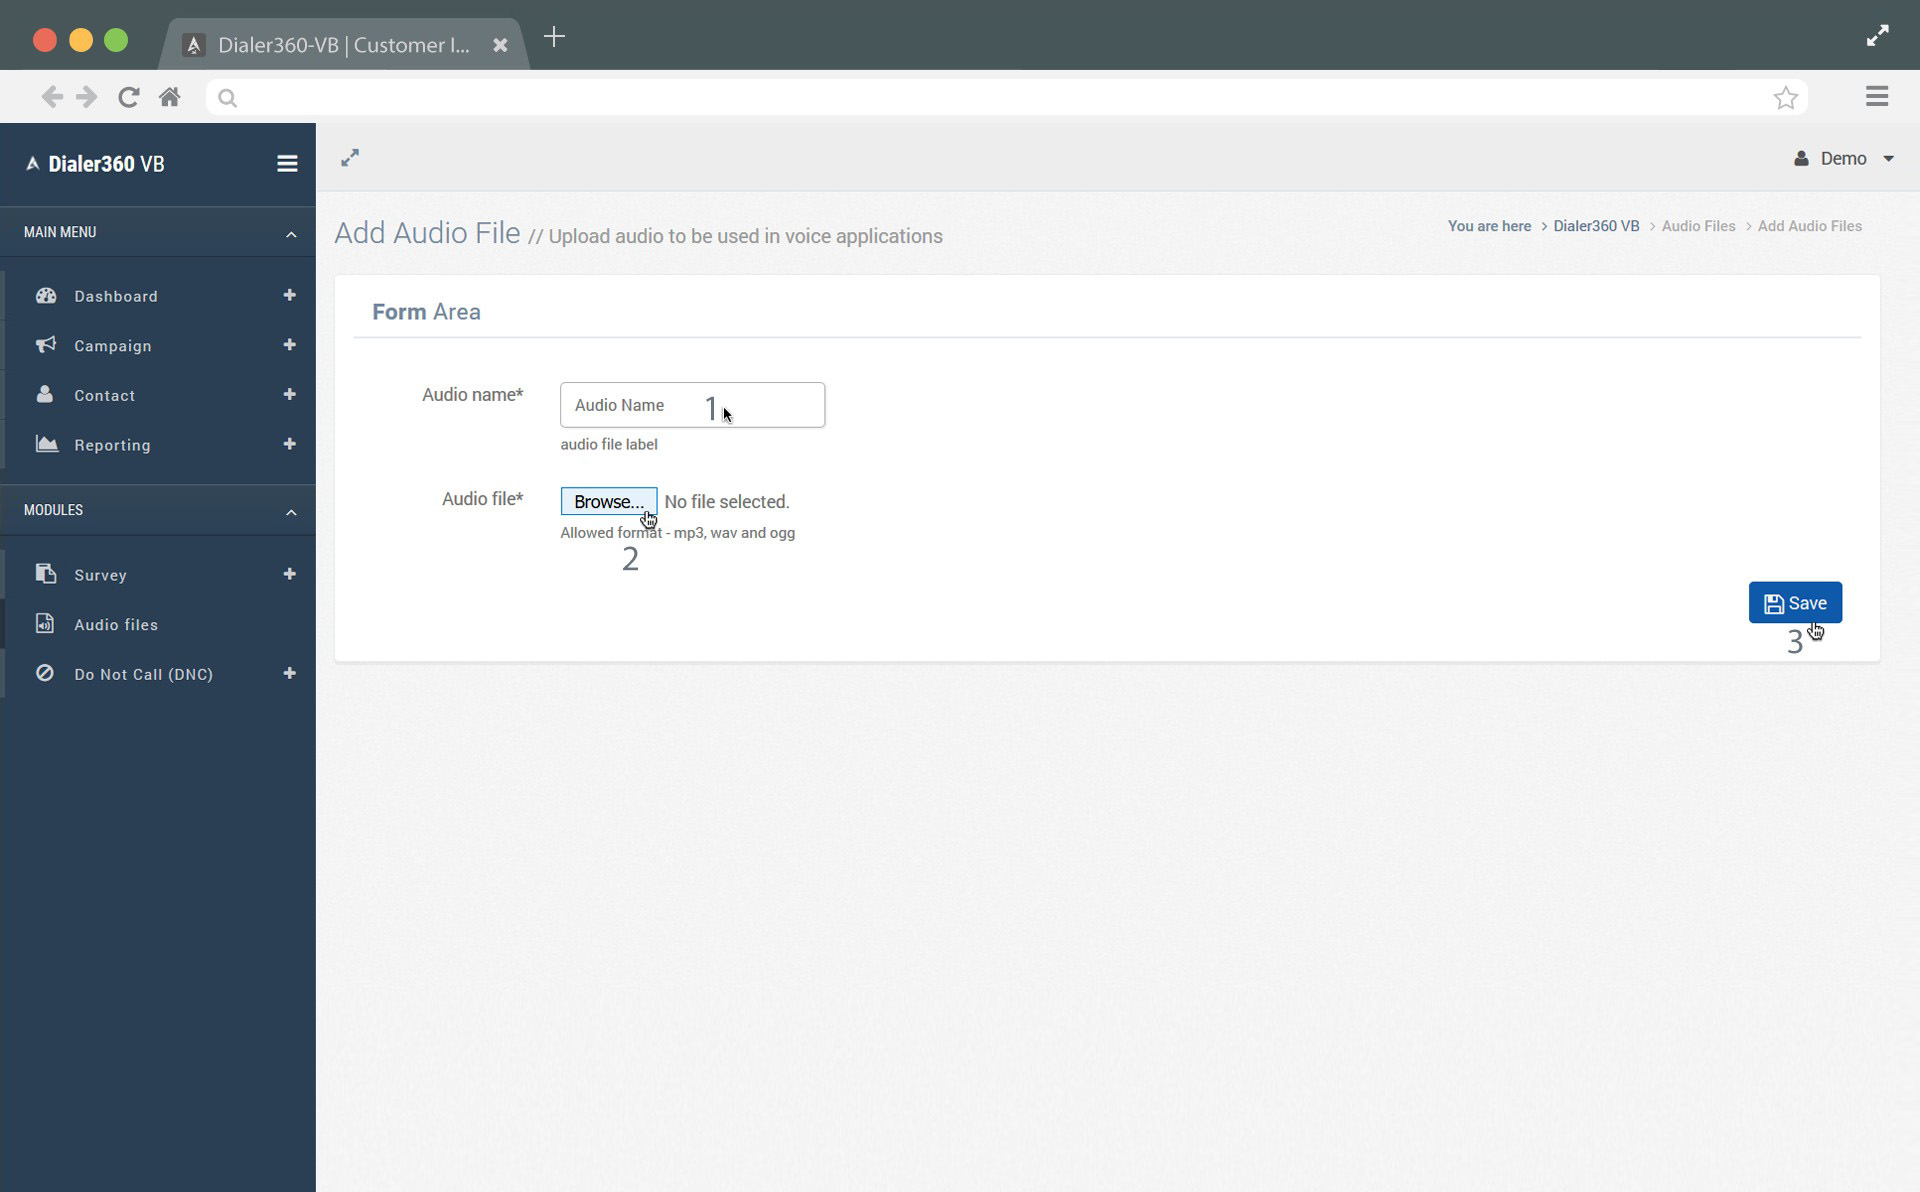
Step 5: Add a Survey (It is the necessity option, It will help in campaign option for proceedings in Voice Broadcasting Campaign form as an application*.)
1. Click on “Module” option where you will find further options as: Survey, Audio files and Do Not Call (DNC list). Choose Survey. 
2. Click +Add button. 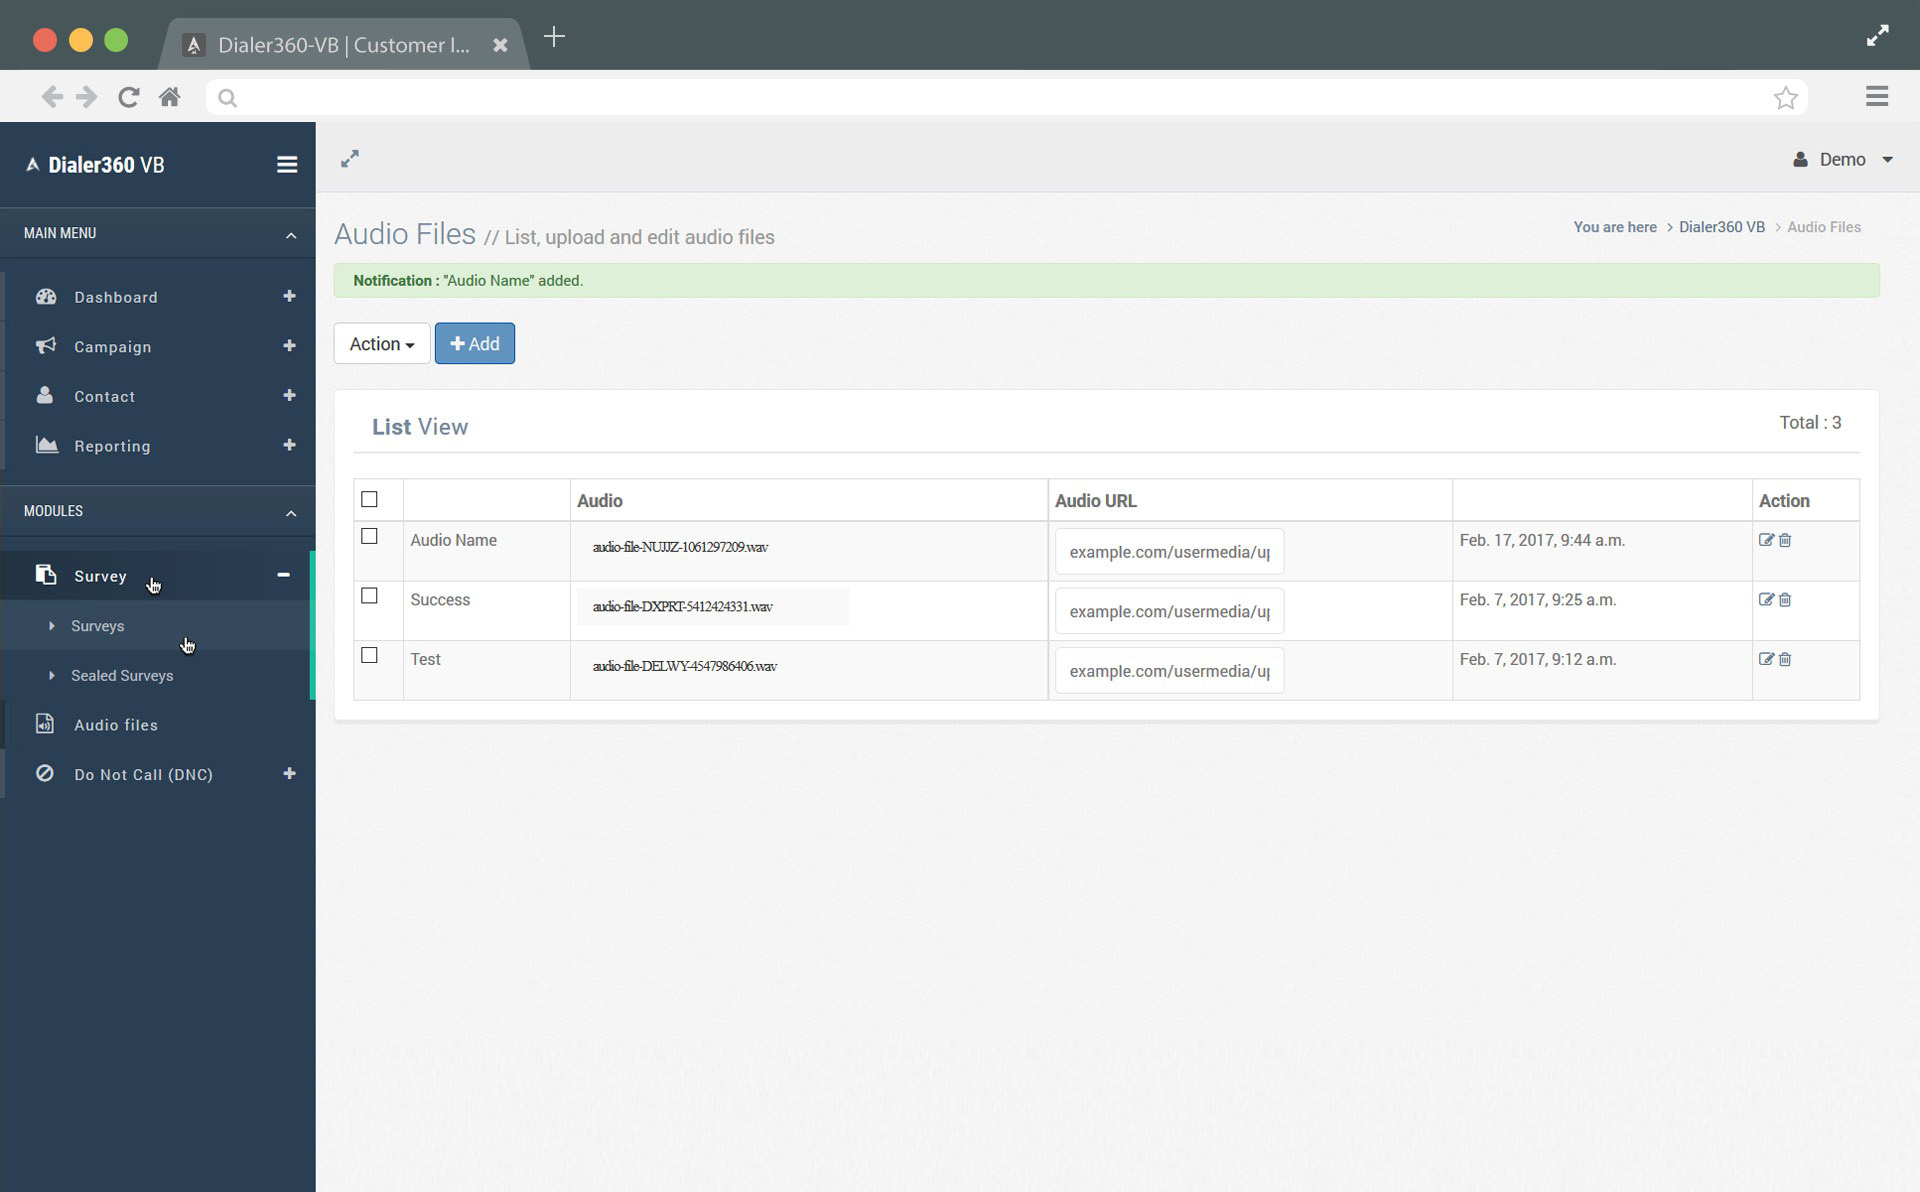
3. Choose name, text-to-speech language, short description and click save button. 
4. Survey added successfully! Now you are one step behind for setting up your Vocie Broadcast Campaign. 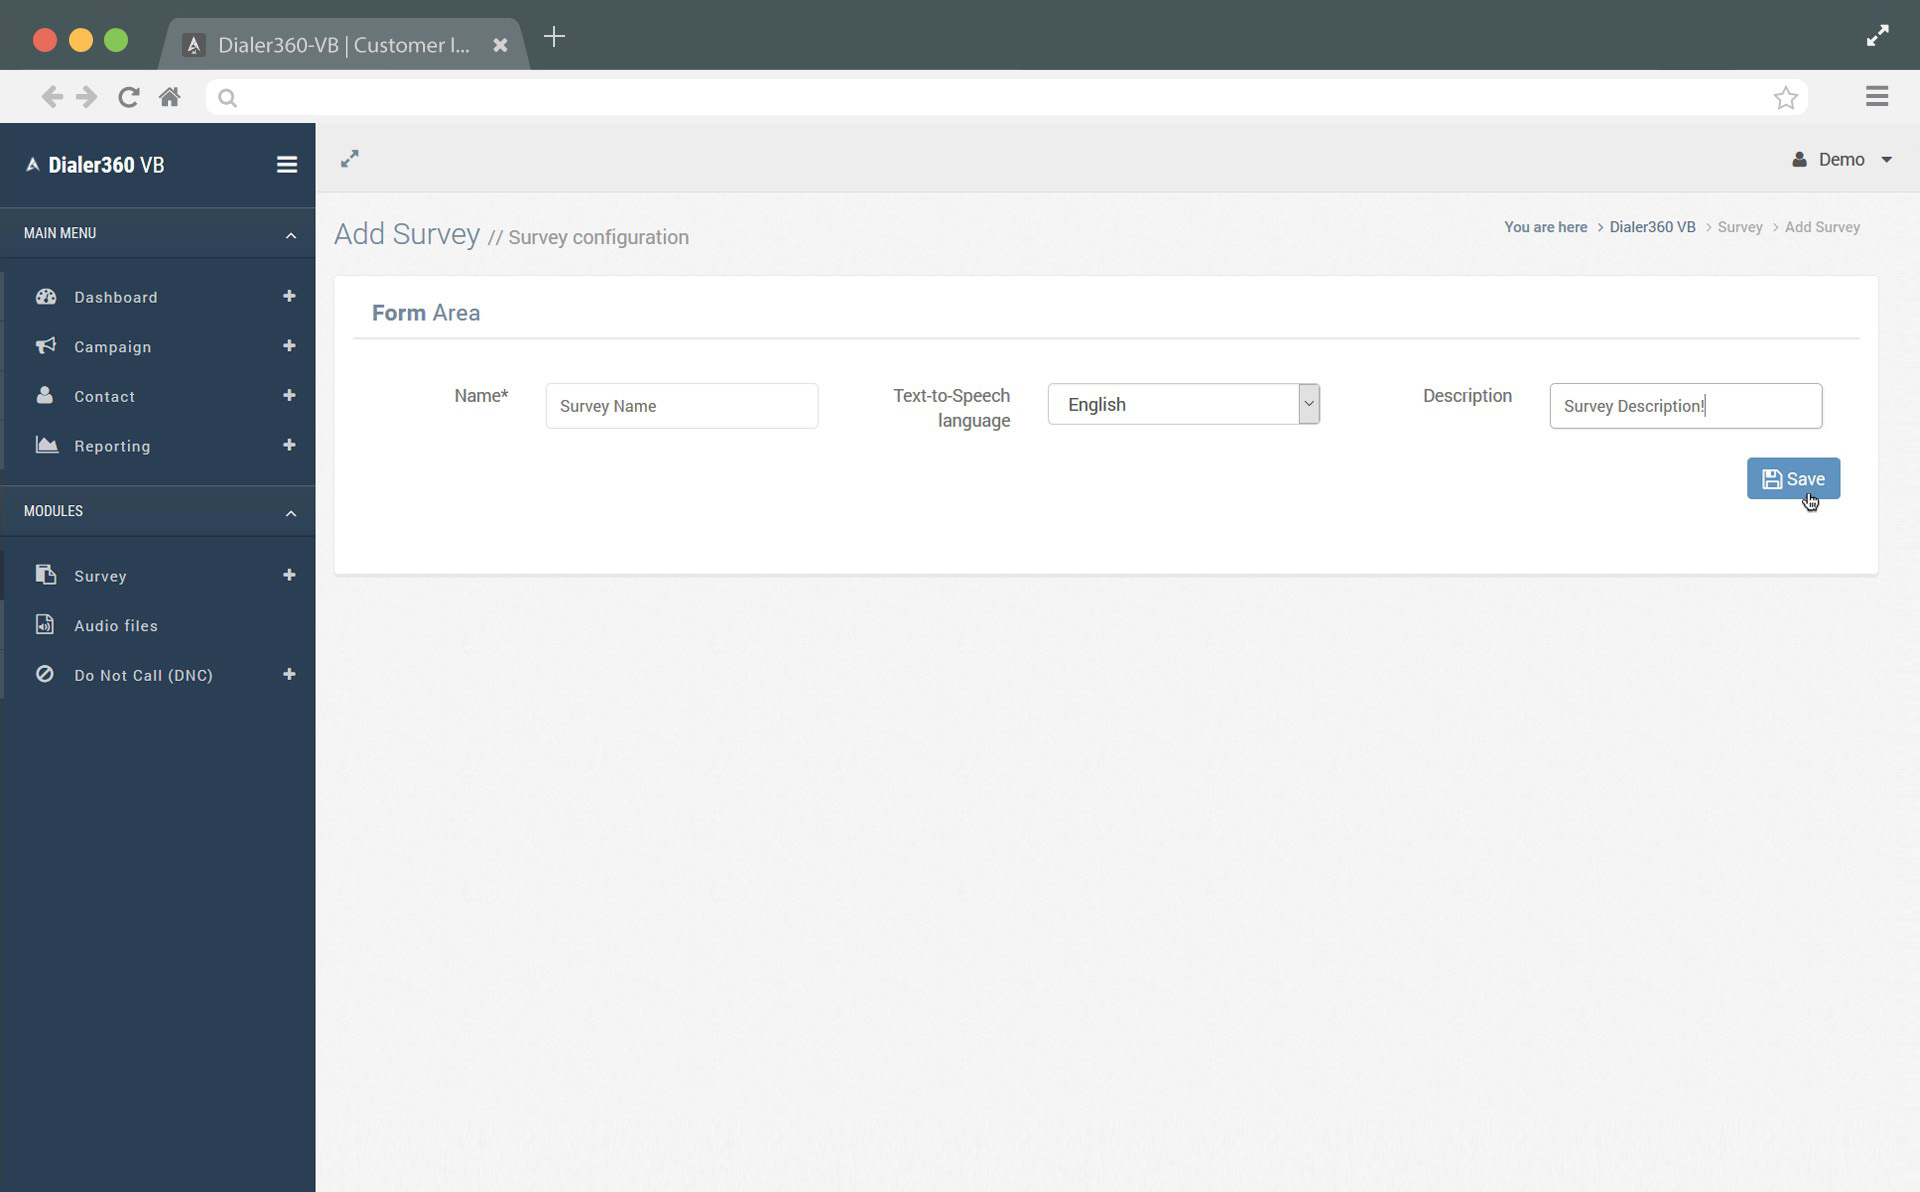
Step 6: Setting up Vocie Broadcast Campaign (You have your own campaign phonebook and voice message to broadcast and pitch your target audience, moving to next step to choose campaign to broadcast.)
1. Click on “Campaign” option where you will find further options as:Voice Campaign, SMS campaign. Choose Voice Campaign. 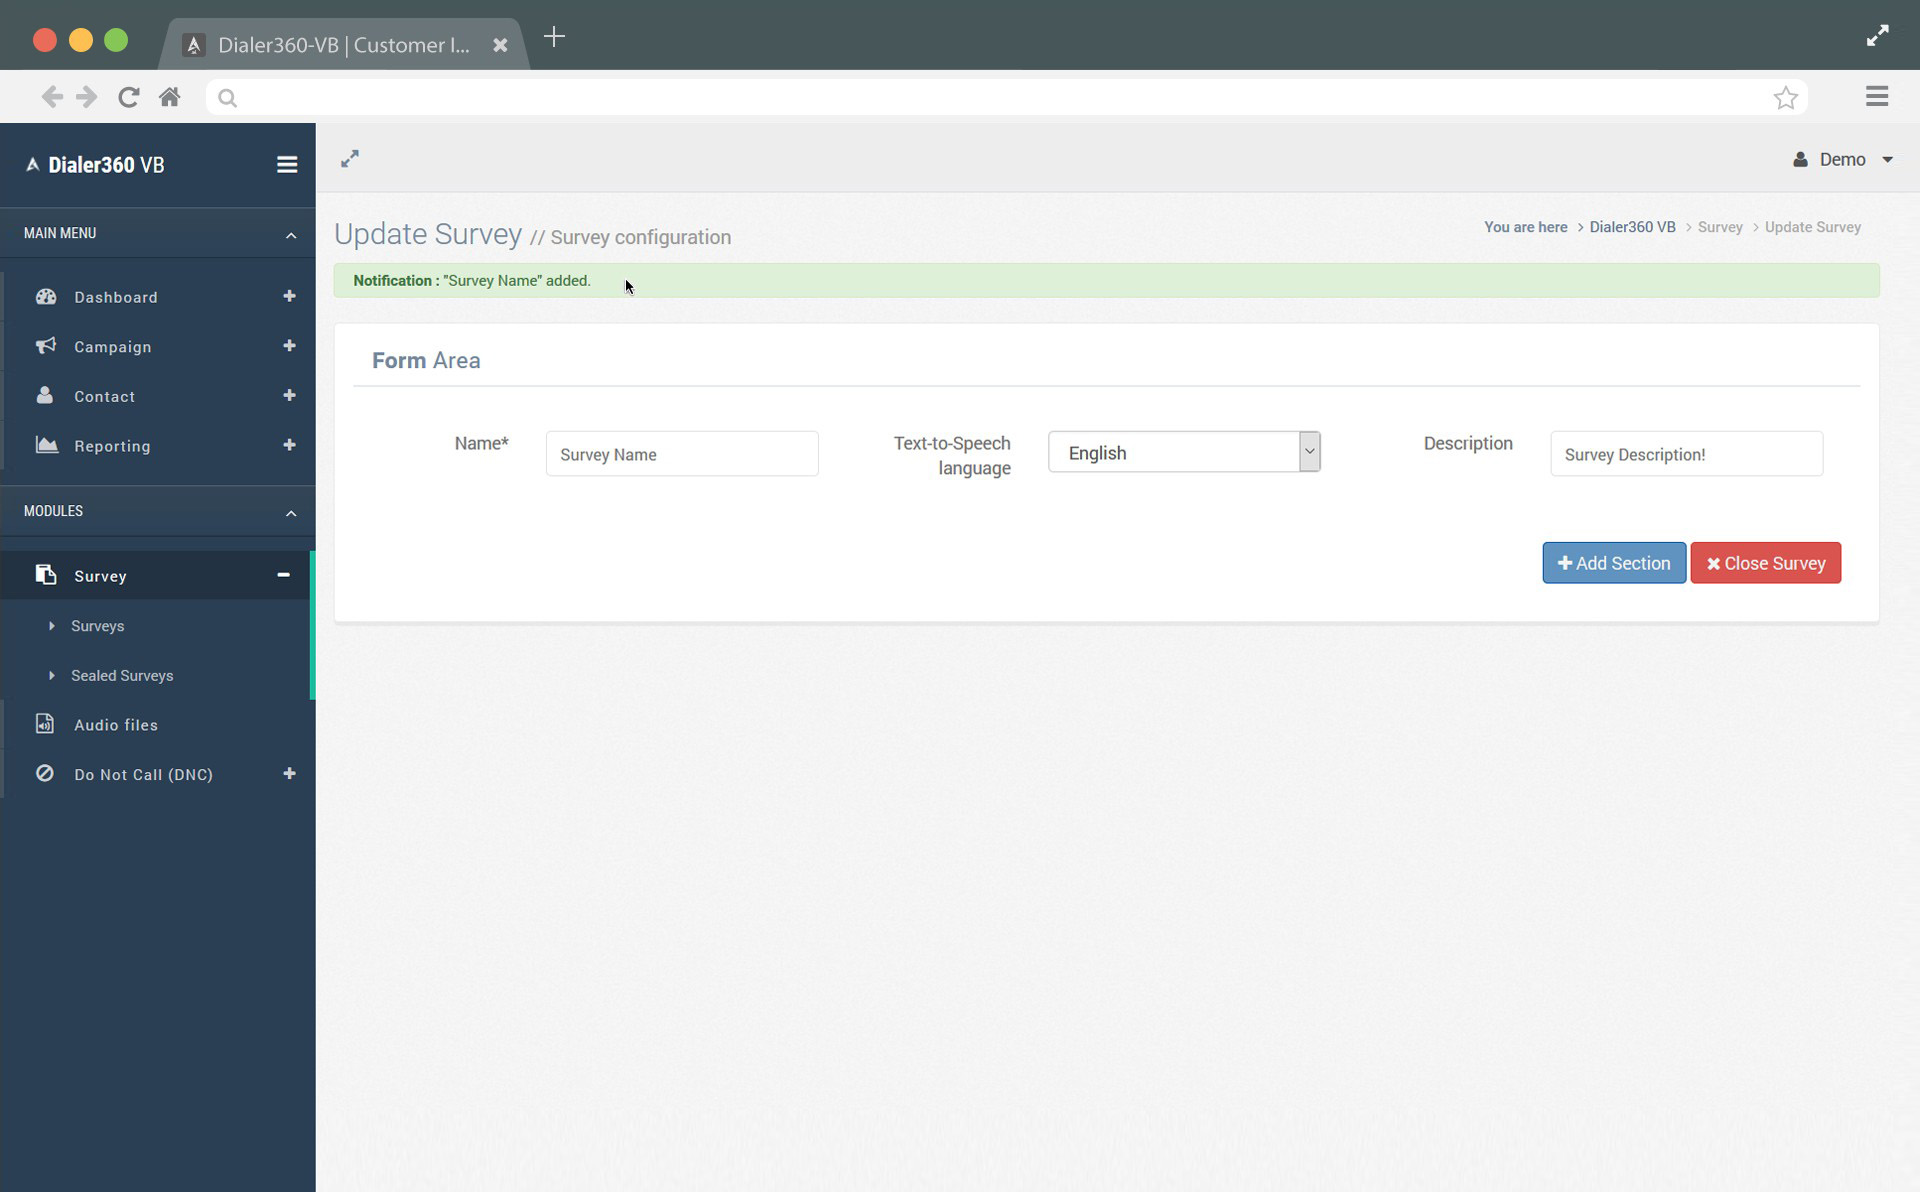
2. Click +Add button. 
3. After click on +Add, you will see table of content required to be fill, put your Campaign Name, Caller ID Number, Caller Name, Application*, Extra Parameters (if any), DNC numbers (if any), descriptions and most important Contact list from your phonebooks and save your campaign. 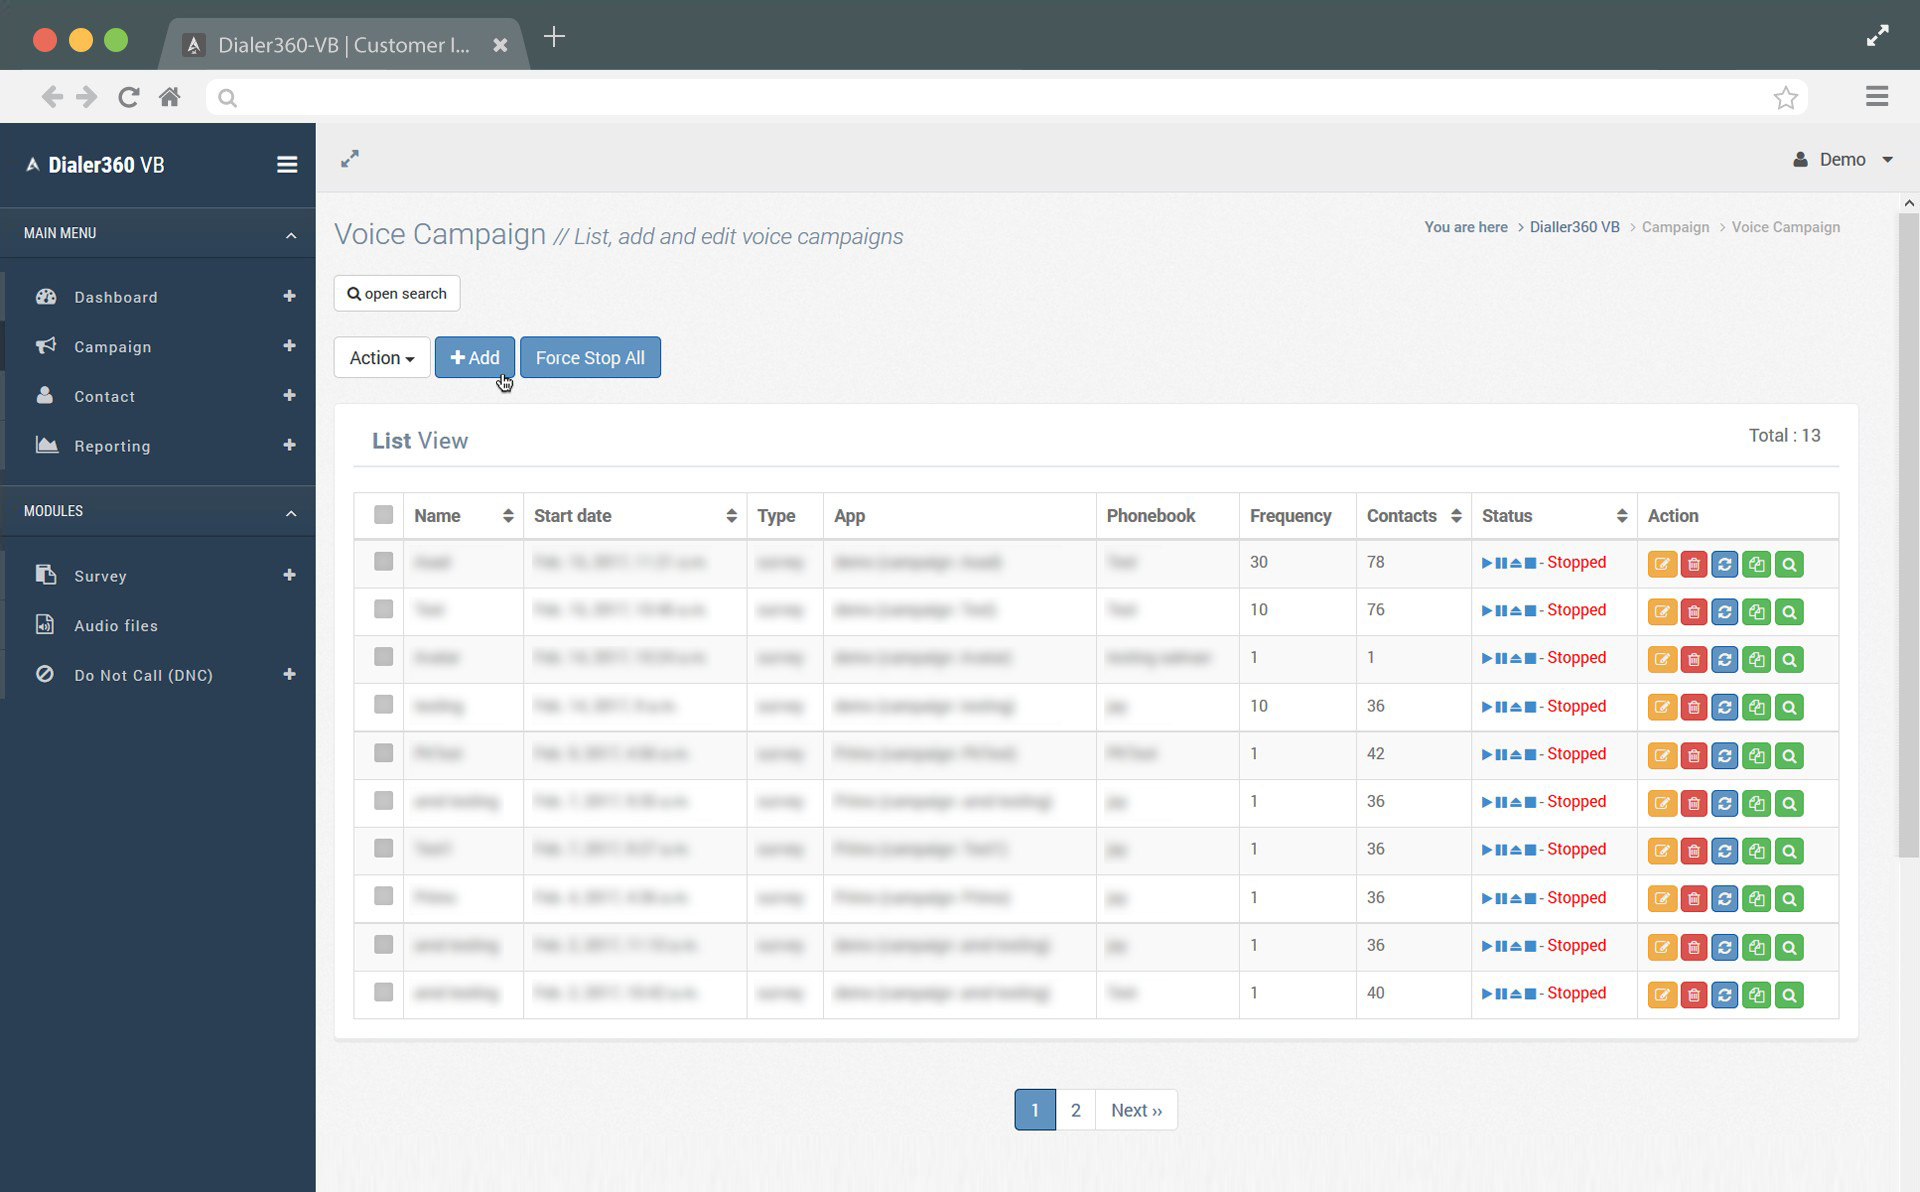
4. After save your campaign, you will see multiple options for instance: Name of your campaign, start date, type of your campaign, selected phonebook, frequency of broadcast voice message, numbers include in your contact list and status of your campaign. Campaign you choose to start will be paused by default, by click on start button, it will be start. In status, user can start, pause, abort and stop his campaign at any time. 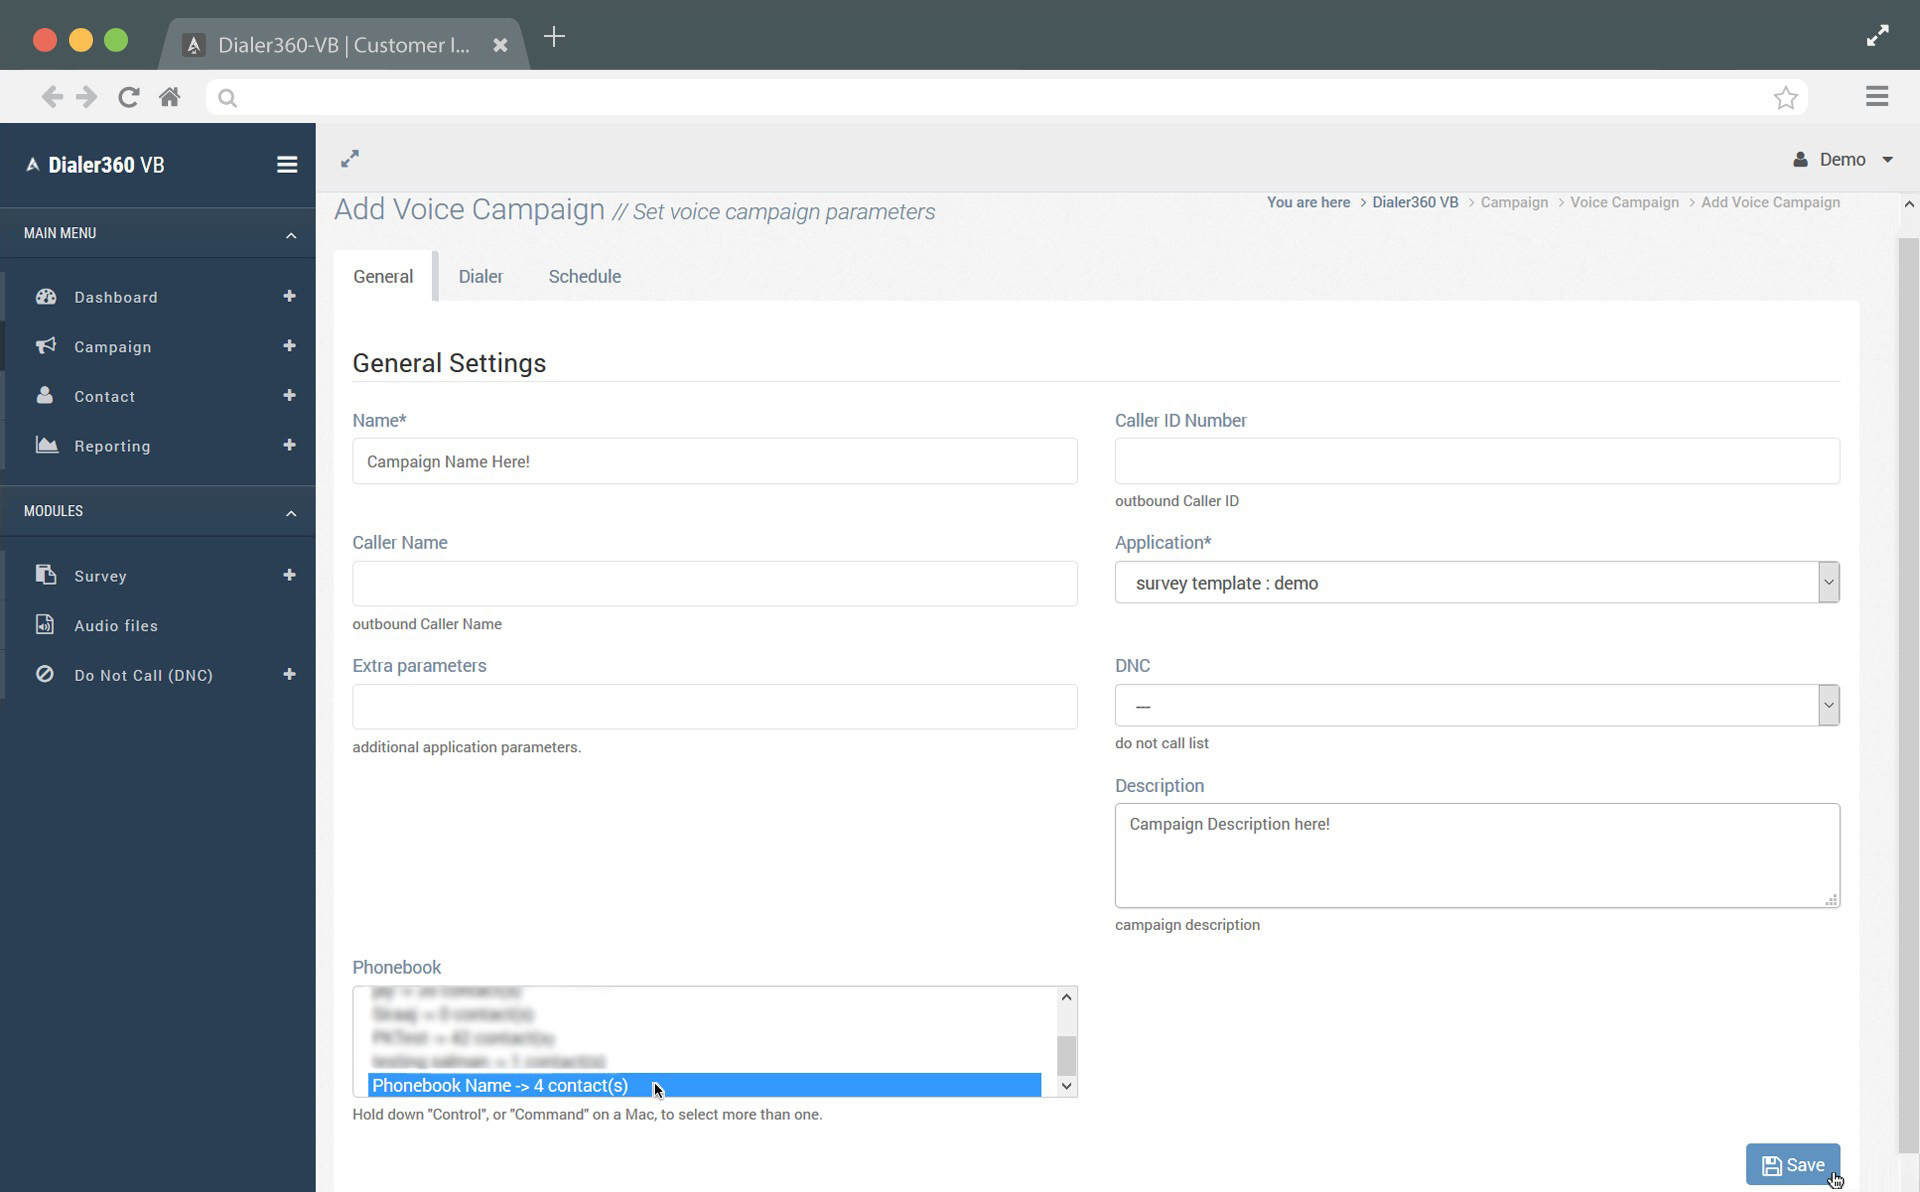
Step 7: Reporting
1-1. Click on “Reporting” option.
Report your broadcast campaign is essential step to know disposition of your campaign, how many calls are completed, fail, abort, sent, not authorized and pause. Open search tab and find out by date, by campaign name and know campaign disp 
1-2. Click on Subcribe report button from left side menu.
1-3. Here you are on Subscriber report page. 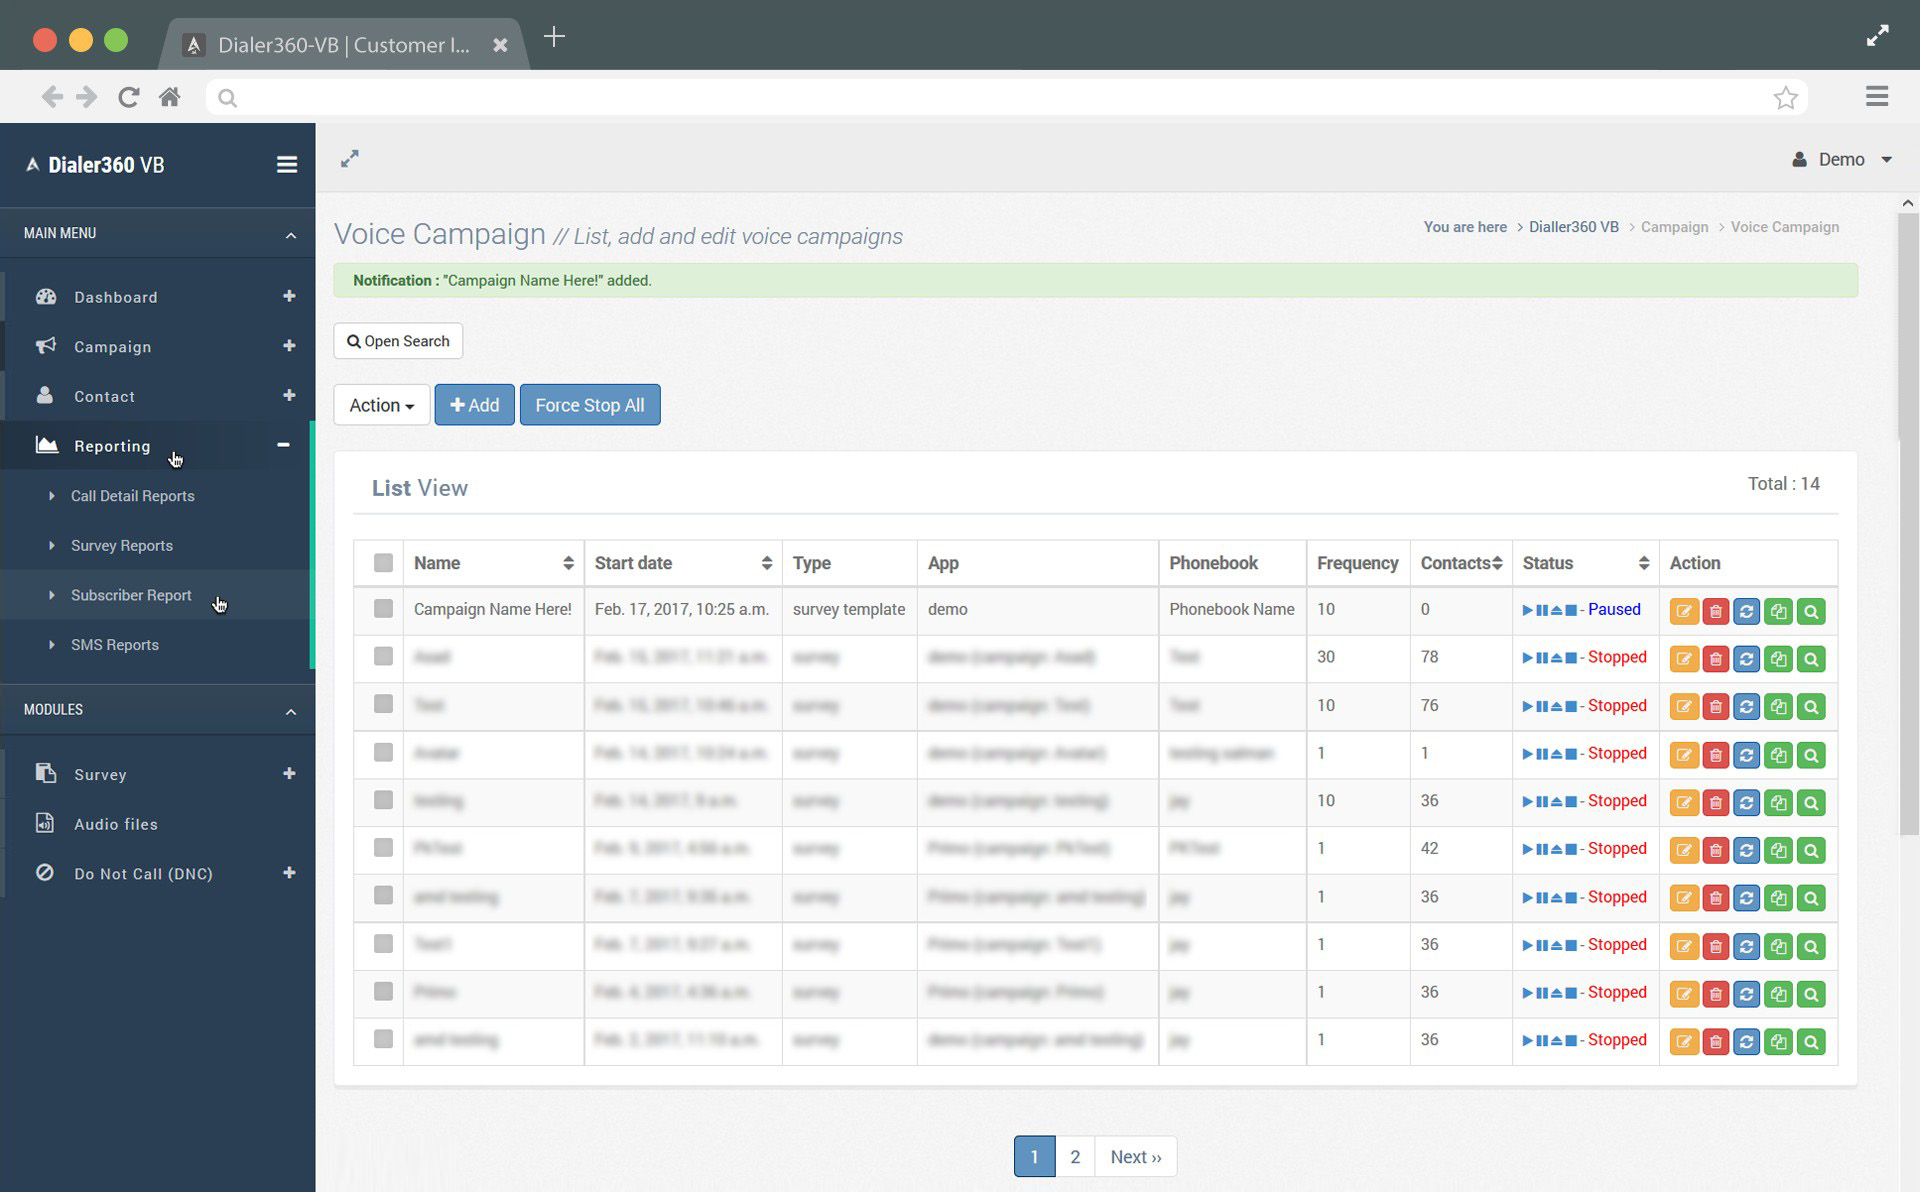
1-4. Change status from dropdown for more status reports. 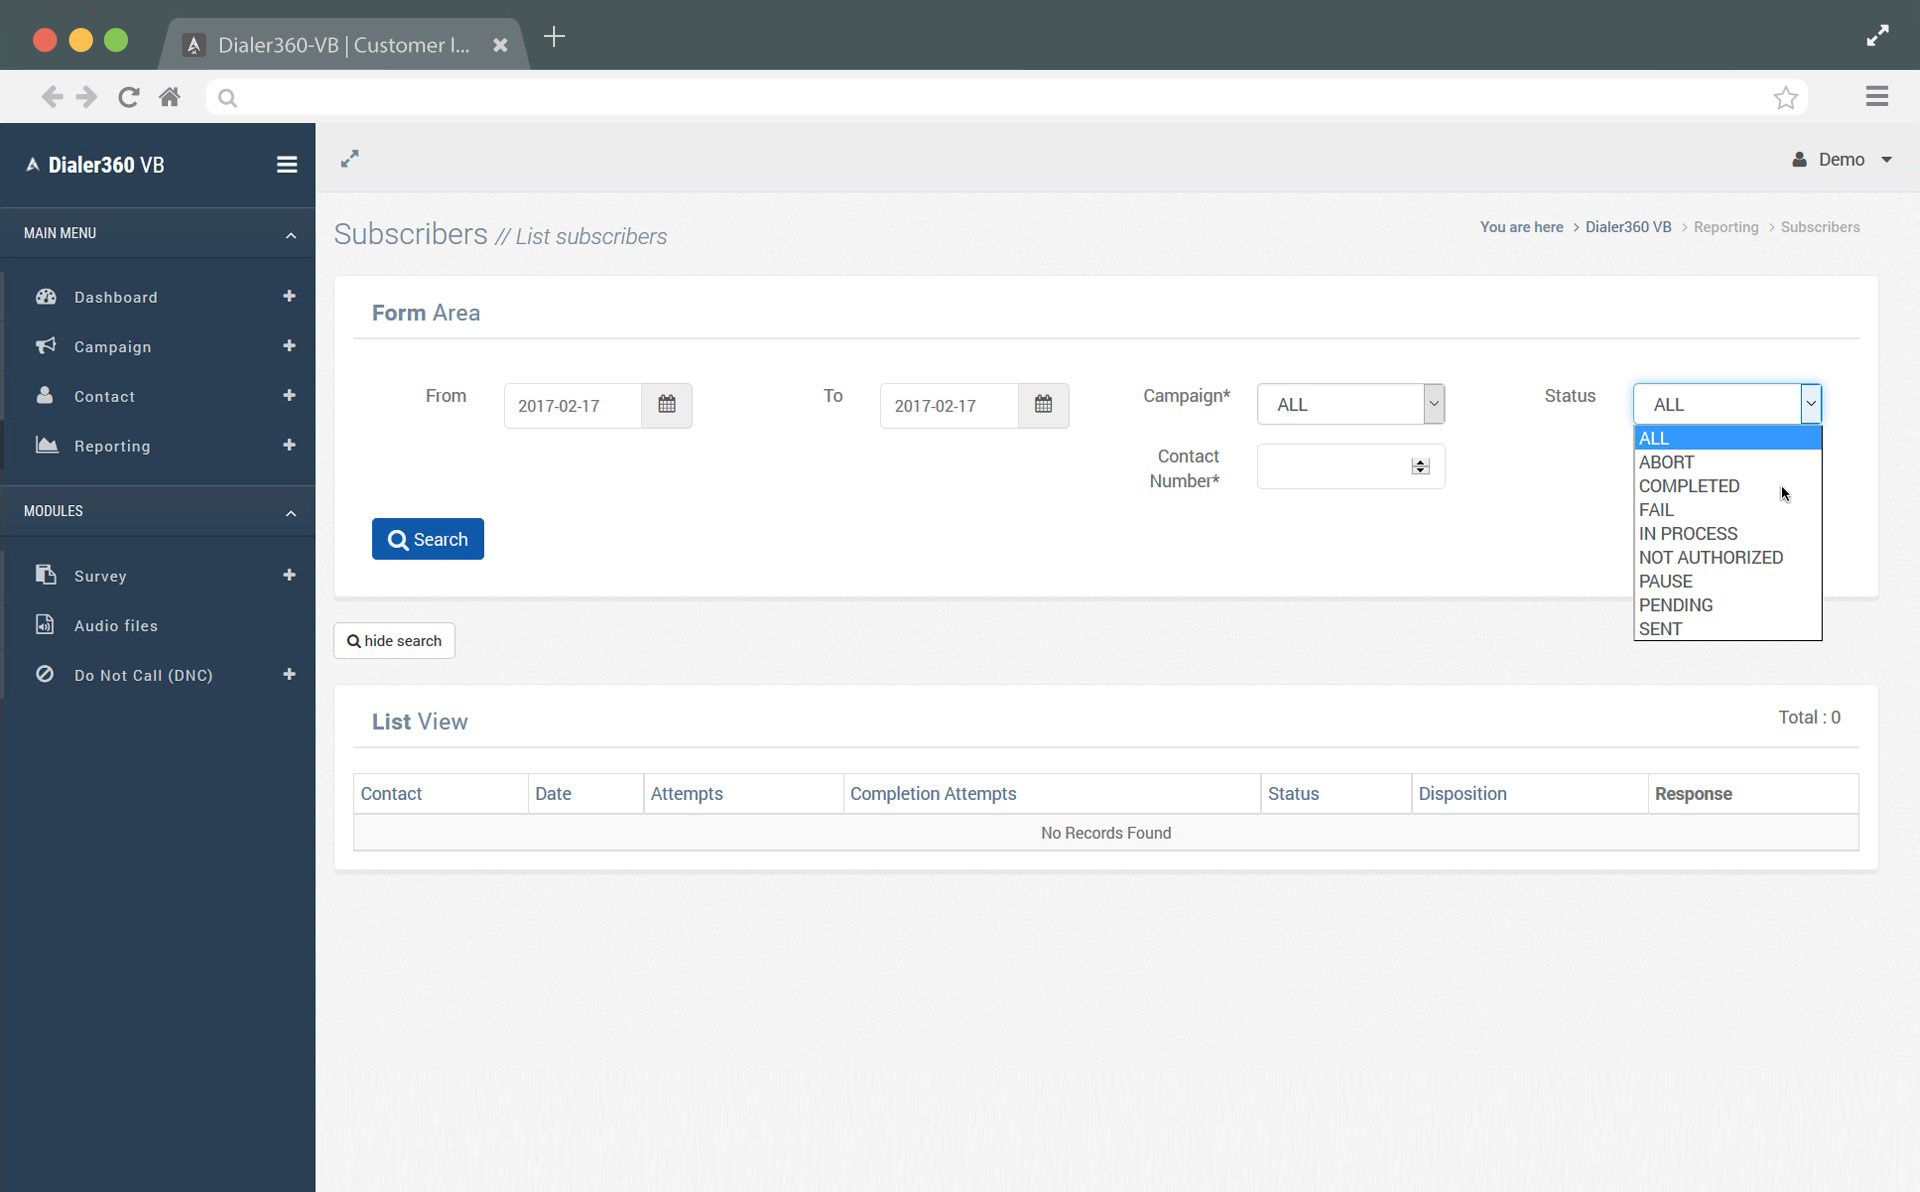
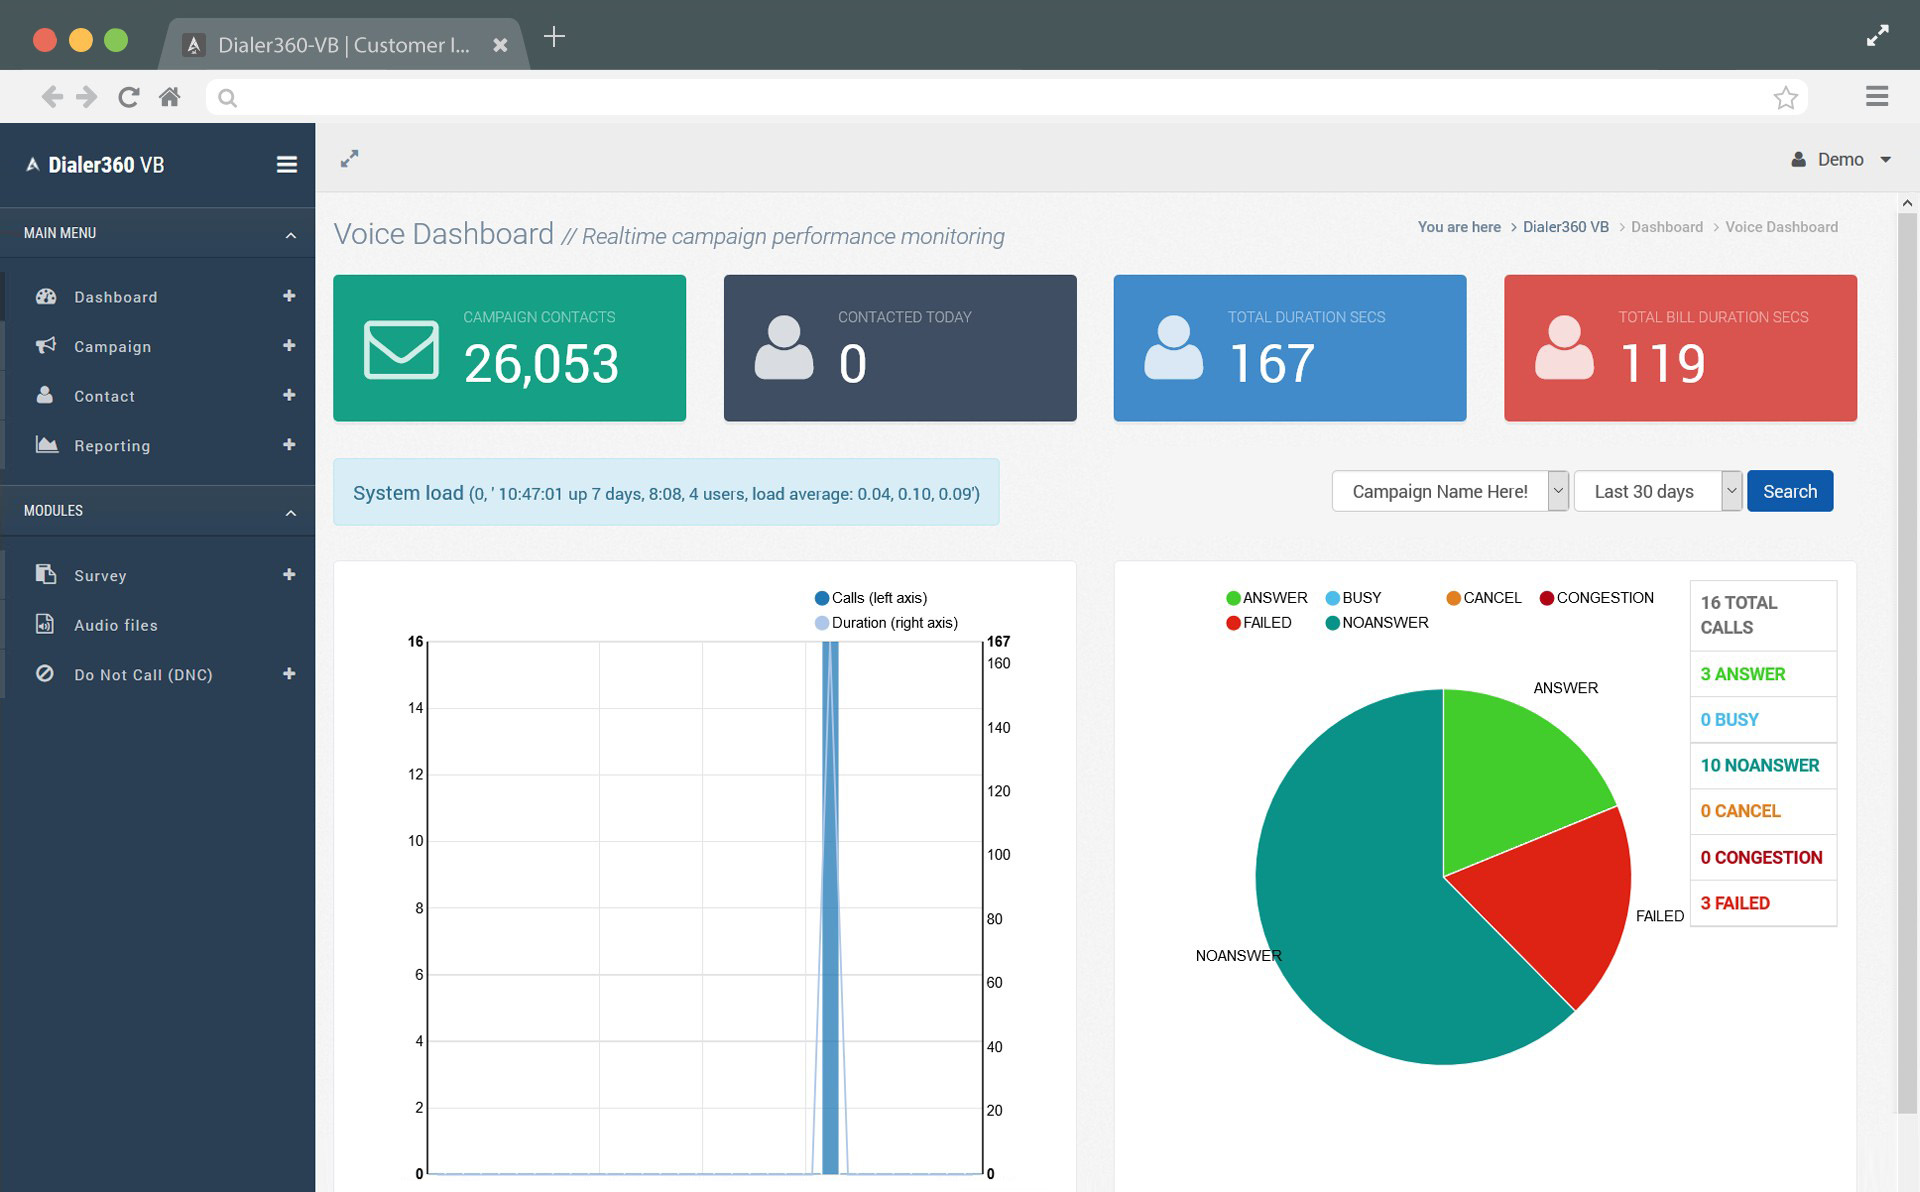
2-1. Click on “Dashboard” option where you will find further options as: Voice Dashboard and SMS Dashboard. Choose Voice Dashboard. 
2-2. Dashboard is the best way to real time monitor your existing campaign performance and disposition through graphs and numerical, just select campaign, duration and search, you will see performance through graphs and numerical.